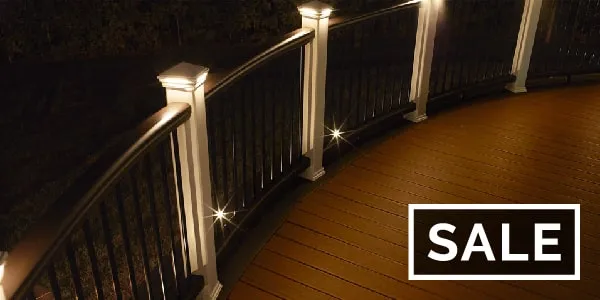
Everything You Need For A Complete Revival Rail Deck Railing
Revival Railing is a perfect choice to bring new life to any worn deck on a budget. The simple, no-frills aluminum railing system comes with all the benefits of metal railing - low-maintenance, long-lasting, and modern - at a budget-friendly price point.
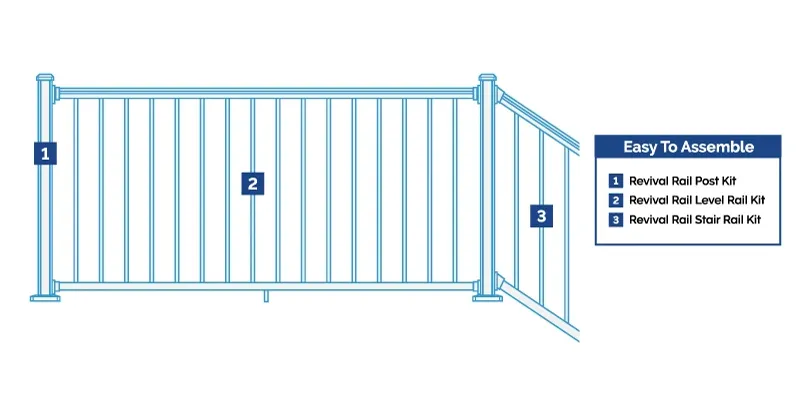
And it's incredibly easy to plan and install. In fact, with just three simple kits and one installation accessory, you'll have everything you need for a standard deck railing. With our shopping checklist below, you can figure out exactly how many of each part you need and start planning your upgraded deck today!
For even more personalized planning help, give us a call at 1-888-824-5316. We are here to help!

Revival Railing Shopping Checklist
Everything you need for standard level railings, stair railings, and traditional 90-degree corners.
- Step 1: Posts & Post Trim (learn more)
- (max spacing between posts: 8 feet)
- Step 2: Level Rail Kits (learn more)
- Step 3: Angled Stair Rail Kits (learn more)
- Step 4: Specialized Installation Tools (learn more)
- Touch-Up Spray Paint (required)
More Planning Help
Some unique deck features might require additional parts. Follow the links for a supplemental checklist of items to add for your unique feature.
- What Do I Need For Angled Railing Connections?
- Can I Cut One Rail Kit Into Two Short Sections?
- Free Planning Help
Planning Your Deck Project
The first step in planning out your deck railing is to measure your deck space. It's helpful to draw out your deck's layout, measuring and labeling the lengths of each outside edge.
- Draw the layout of your deck
- Measure the lengths of each edge and label them
- Plan where your posts will go - Revival Railing sections can span up to 8 feet from the center of one post to the center of the next post
- Fill in between the posts with rail kits
Then count up the various types of posts and the various lengths of rail kits you'll need. Your shopping list will consist of:
- Post kits
- Rail Kits
- Installation accessories
As always, we staff a team of experienced deck project planners to help you plan for all of your deck's unique features. Give us a call at 1-888-824-5316 for totally personalized project planning!
Step 1: Posts & Post Trim
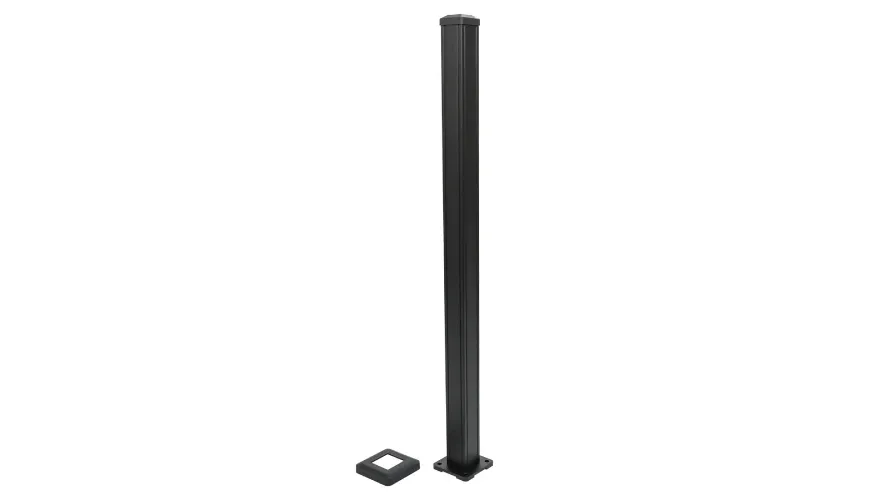
The structure of your railing comes from sturdy aluminum posts - and Revival Railing bundles its posts in simple kits with the post and coordinating trim.
One nice touch: Revival Rail posts aren't ornately detailed enough to drive up the price, but they do have some subtle craftsman detail to them. Each kit comes with a post skirt to cover up the base of the post, plus a post cap to plug the hollow top of the post and give your deck a clean, polished finish.
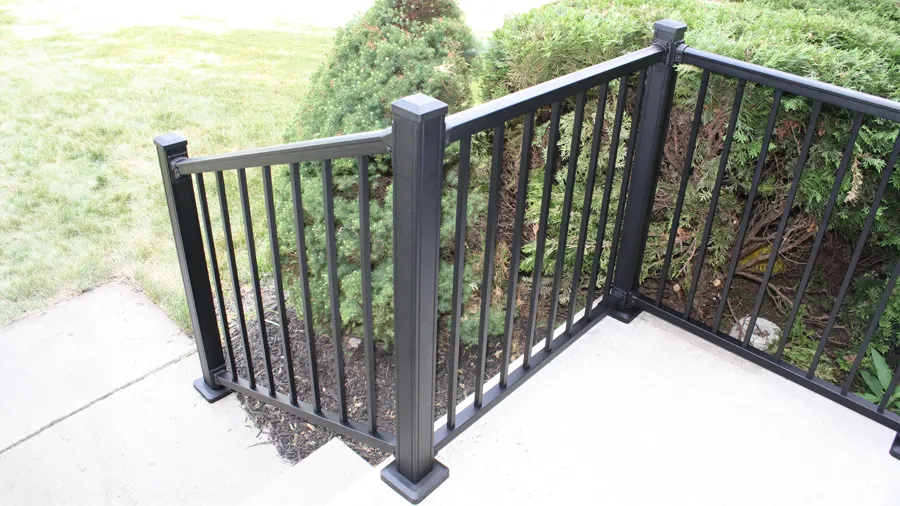
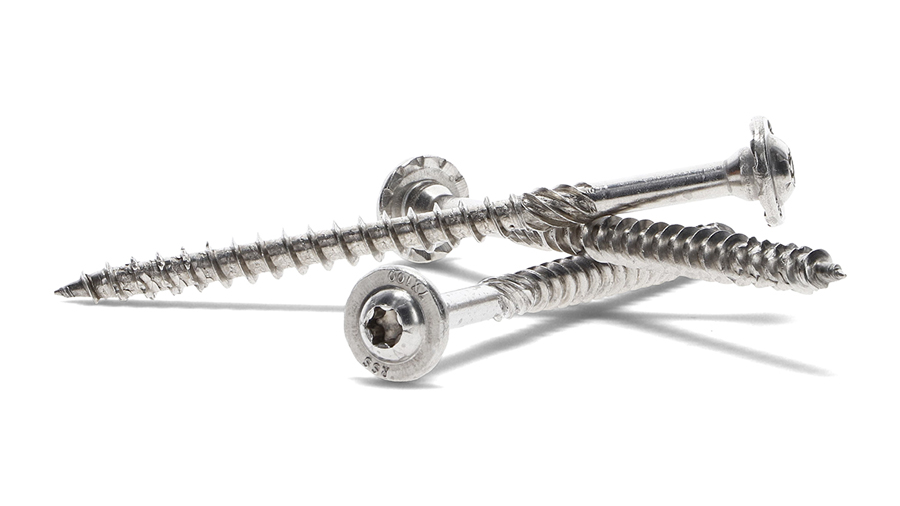
To mount your post to your deck frame, use a 4-inch or longer structural screw, like these Pheinox RSS Rugged stainless steel screws from GRK Fasteners. They're compatible with wood, pressure-treated, composite and PVC decking.
You'll need at least 4 inches of blocking attached to your deck frame under each post to ensure a sturdy connection.
Step 2: Level Rail Kits
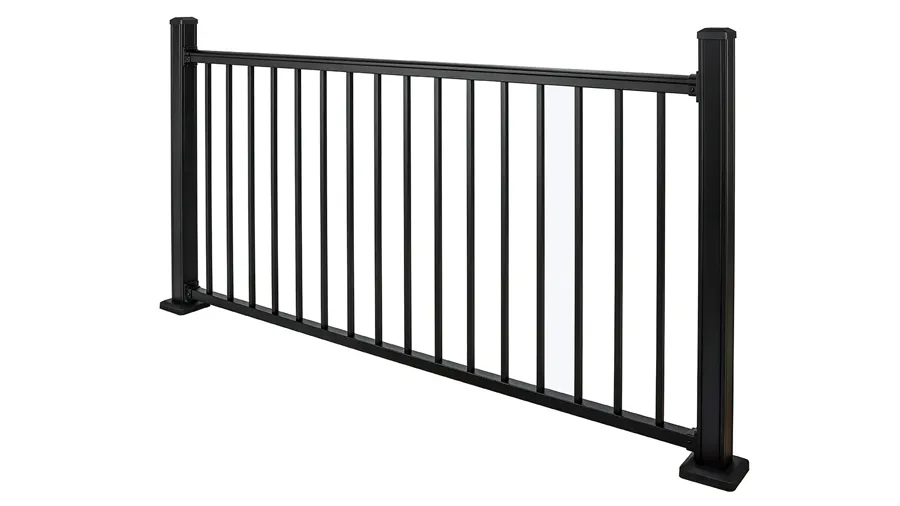
Deck builders often call everything between your posts "infill" - and with Revival Railing, all the infill comes packaged together in a simple rail kit.
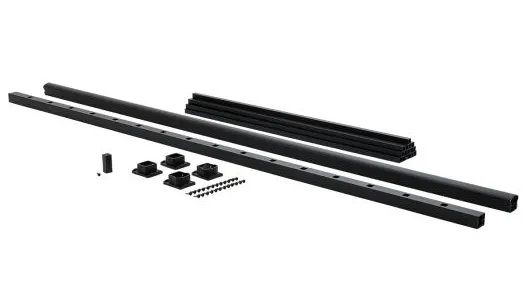
The kits include a top rail and bottom rail, long pieces that run horizontally from one post to the other. The kit also comes with balusters, the thinner, vertical pieces that run up and down between the top rail and bottom rail.
The kits also come with brackets (to attach the rails to your posts) and all the hardware you need to attach everything together - plus a foot block to support the bottom rail.

The kitted system makes it easy to plan and buy your railing - just buy one kit for each span between posts and you'll have every part and piece you need. Plus, it all assembles easily into one sturdy, solid panel.
Step 3: Angled Stair Rail Kits
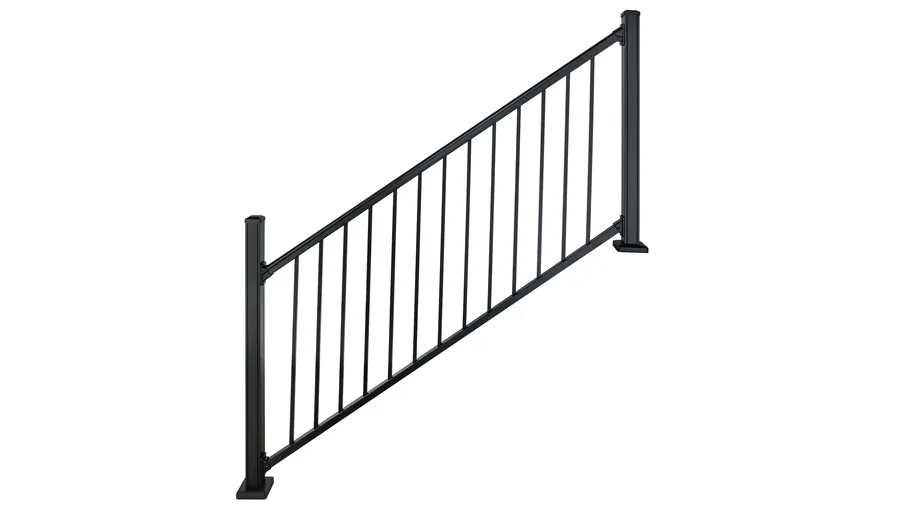
Use the level rail kits for the level sections of railing around your deck. For any stairs, Revival Rail offers specialized stair rail kits, complete with angled brackets to attach your top rail and bottom rail at an angle.
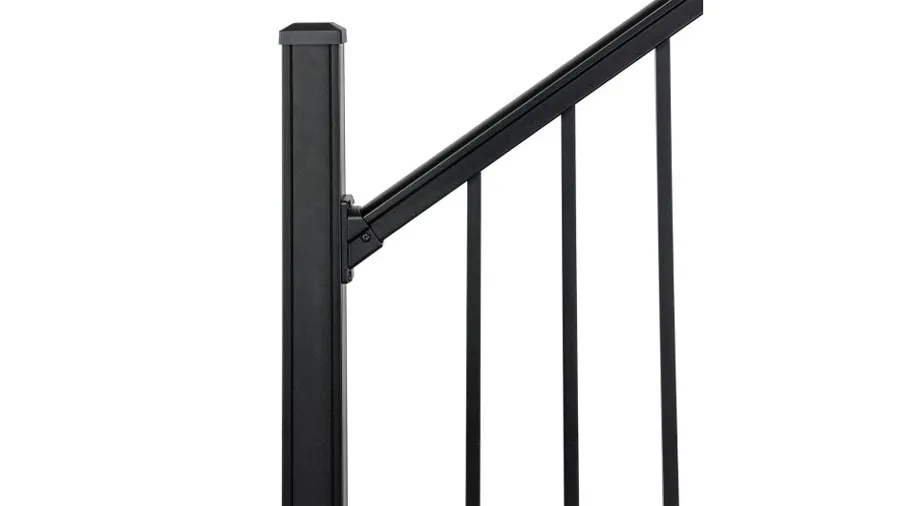
Like the level kits, the stair kits include top rail, bottom rail, balusters, brackets, hardware, and a foot block - every single piece you'll need between your posts.
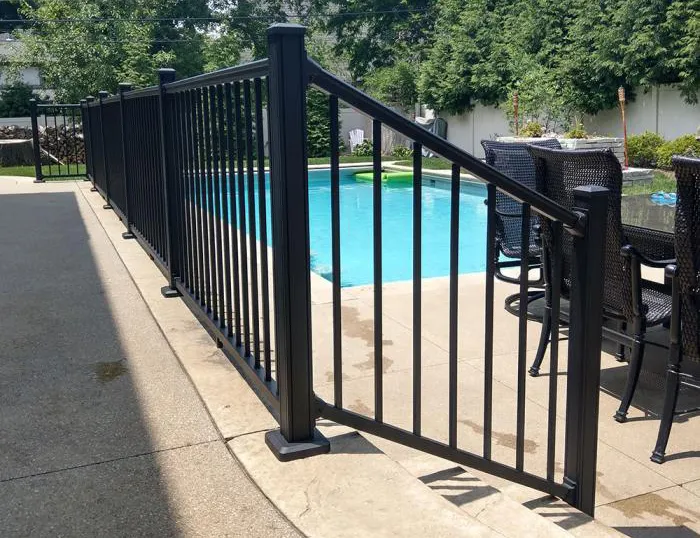
Step 4: Installation Tools
- Touch-Up Spray Paint for Revival Railing (required)
Revival Railing installs easily with standard tools you probably already have around the garage: a power drill, tape measure, rubber mallet, and a miter saw. The one specialized tool you'll need isn't really a tool - it's color-matching touch-up spray paint.

Why is paint a required accessory? Mainly because you'll have to cut your rails down slightly to fit your space, which exposes some aluminum underneath the tough powder coating. Coat any cut ends of your rails (or posts) with spray paint, and you'll protect the aluminum from corroding, giving your railing an extremely long lifespan.
It's also worth getting touch-up paint because your railing might get scuffed, scratched, or scraped during installation - or in the years after you've installed it.
The spray paint is designed to perfectly match the color and texture of Revival Railing, so it only take a minute or two to return any scuffed or scratched railing to its original glory!
Supplementary Shopping Lists For Special Cases
If your deck has unique shapes or features, you may need to combine the shopping list at the top with one of these additional shopping lists.
What Do I Need For Angled Railing Connections?
What you'll need:
Your deck may not have all standard 90-degree corners. 45-degree angles and corner cutouts look great and are very popular deck designs. Luckily, Revival Rail makes it easy to plan around non-standard angles.
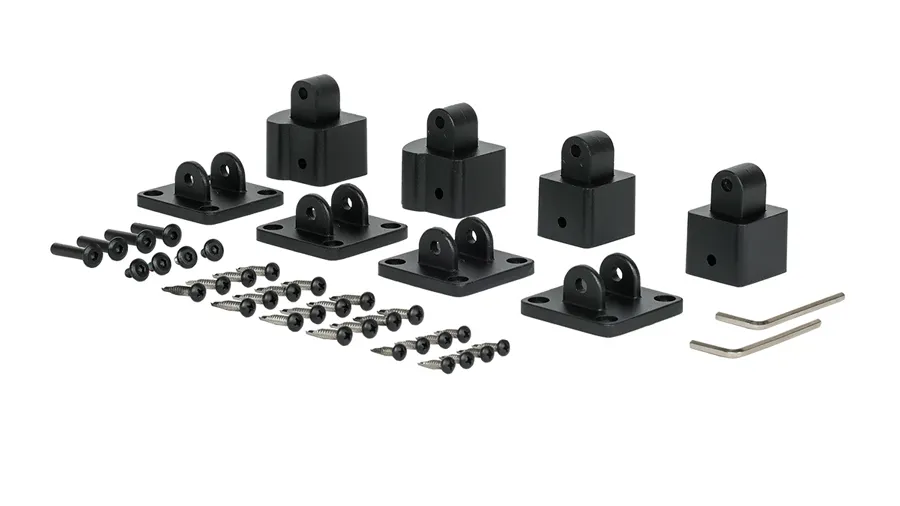
Just add a set of Universal Swivel Brackets to your shopping list. These brackets allow you to attach your rails to your posts at any angle between zero degrees and 65 degrees:
Can I Cut One Rail Kit Into Two Short Sections?
What you'll need:
If you need two short railing sections, you can save on materials by buying one longer rail kit and cutting it into two smaller pieces you can use in two different places on your deck. Use a miter saw with a metal-cutting blade and coat the cut ends with touch-up paint.
A few things to keep in mind if you plan to cut a longer section down into two shorter sections:
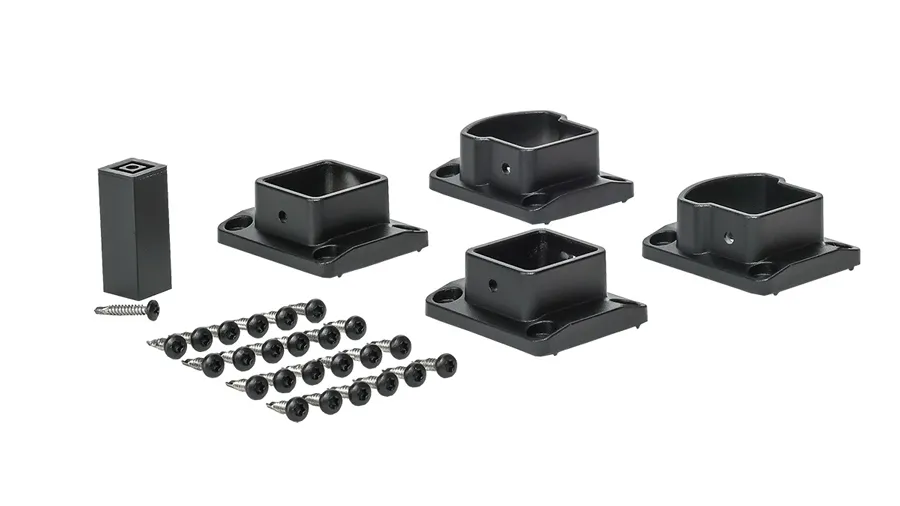
You'll need an extra set of brackets. Each rail kit only comes with enough brackets to fit a single rail section. So if you're cutting one rail kit into two, you'll need to buy an extra set of rail brackets, as shown below:
Allow for some lost length during cutting. Make sure you buy a rail long enough to fit both your sections, plus a little extra. As you cut the rail apart, you'll have to make sure the baluster holes are spaced properly from your posts - that means it's inevitable that some of the rail will have to be cut and thrown away. For example, you won't be able to buy a 6-foot section to cover two 3-foot sections - we'd recommend buying at least one extra foot. For example, buy an 8-foot rail section to cut down into two 3-foot rail sections.
Include touch-up paint to cover your cut ends. Revival Railing is powder-coated to protect from corrosion. When you cut a rail, you'll expose some of the underlying aluminum. Fortunately, a quick coating of touch-up paint will cover that surface and protect your railing from corroding in the elements.


