6 Tips To Prep Your Deck For Winter
If you live in a cold-weather climate, prepping your house and yard for winter can feel overwhelming. You'll find list after lengthy list of to-dos and recommendations that make you feel like you're falling hopelessly behind.
Fortunately, it doesn't have to be this way. At DecksDirect, it's our mission to help you spend more time enjoying your deck - and less time maintaining it. In that spirit, we've put together a quick and easy list of 6 things you can do this fall to prepare your deck for the winter months and set up your deck for long-term low-maintenance stability.
Table of Contents
- #1: Sweep away leaves
- #2: Clean your deck boards
- #3: Invest in a plastic shovel
- #4: Trim nearby trees and bushes
- #5: Inspect your deck for any future issues
- #6: Plan ahead for next season's projects
#1: Sweep Away Leaves
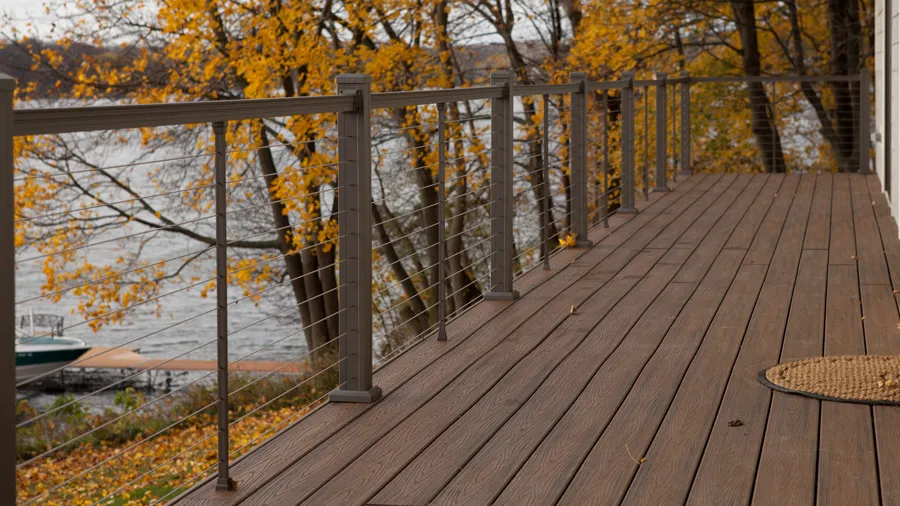
The first step is keeping your deck surface clear of fallen leaves. This can be a bit of an ongoing task throughout the fall, but not a labor-intensive one. A quick sweeping once a week will clear off any new leaves.
If rain is in the forecast, try to get your sweeping done before the showers hit. Wet leaves will be harder to sweep away - plus, they can bleed into your deck boards or cause other damage.
It's especially important to ensure leaves don't get trapped underneath the winter snow on your deck. Why?
- Colorful leaves can stain your deck boards
- Decaying leaves can cause rot, especially on wood deck boards
- Soggy, decaying leaves are a pain to clean up in the spring when snow melts
Pro tip: Keep an outdoor broom handy throughout the fall so you can do a quick deck sweep when you see leaves without needing to run out to the garage or basement to get your broom.
#2: Clean Your Deck Boards
With your deck surface clear of leaves and debris, now is the perfect time to give your deck boards a quick cleaning.
For Select Composite & PVC Deck Boards:
If you have a composite or PVC deck, cleaning is a breeze:
- Step 1: mix warm water and a mild soap (like dish soap)
- Step 2: brush off your deck with the soapy water and a soft-bristled brush
- Step 3: rinse your deck immediately with fresh, clean water
If your deck uses TimberTech decking, you can use TimberTech's specialized DeckCleaner solution. Just make sure you have modern, capped boards in the TimberTech Composite or TimberTech Advanced PVC collections. Don't use TimberTech DeckCleaner on older, uncapped deck boards.
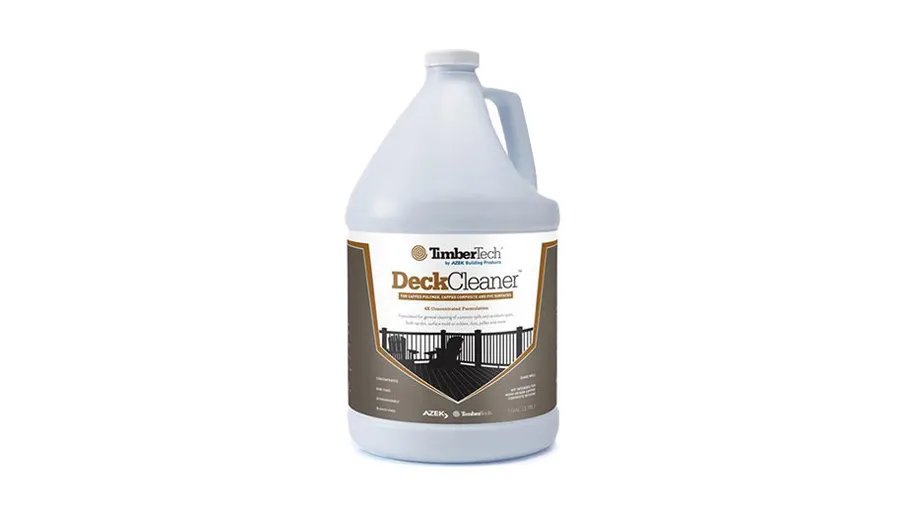
The cleaning process is pretty much the same as above:
- Step 1: mix warm water and TimberTech DeckCleaner
- Step 2: scrub off your deck with cleaning solution using a medium to stiff nylon brush for composite decking or a stiff, natural-fiber brush for PVC decking
- Step 3: rinse your deck immediately with fresh, clean water and let it dry
For Wood Deck Boards:
For wood boards, the cleaning process is almost identical - except that you can use a stiffer brush without risking scratching your deck boards.
- Step 1: mix warm water and a mild soap (like dish soap)
- Step 2: brush off your deck with the soapy water and a stiff-bristled brush
- Step 3: rinse your deck immediately with fresh, clean water
Wood will inherently weather over time unless you stain and seal it religiously. If your wood deck has faded over time, you can return some of its original glory using DeckWise's Wood Deck Cleaner and Brightener.

This two-part treatment cleans, then brightens the wood of your deck. Each application comes in a powder that you mix with water, then scrub into your wood. Rinse it with fresh water and let it dry. DeckWise Wood Deck Cleaner and Brightener works best before applying an oil finish or stain to lock in the new, brightened finish.
#3: Invest in a Plastic Shovel
Many winter snow shovels feature metal edges to help cut through ice. That's all well and good for a driveway - but that sharp metal can wreak havoc on your deck boards.
Don't ever use a metal shovel on wood, composite, or PVC deck boards. The sharp edge can cut, scratch, or scrape your boards. Instead, invest in a plastic snow shovel that you can use to clear snow off your deck.
One helpful tip: keep your plastic shovel near your deck so it's easier to quickly clear snow when you see it pile up. Lifting large, heavy snowdrifts is a pain - shoveling more often will keep each shoveling session quicker and easier on your back.
Learn more: What De-Icers Are Safe For Your Deck?
#4: Trim Nearby Trees and Bushes
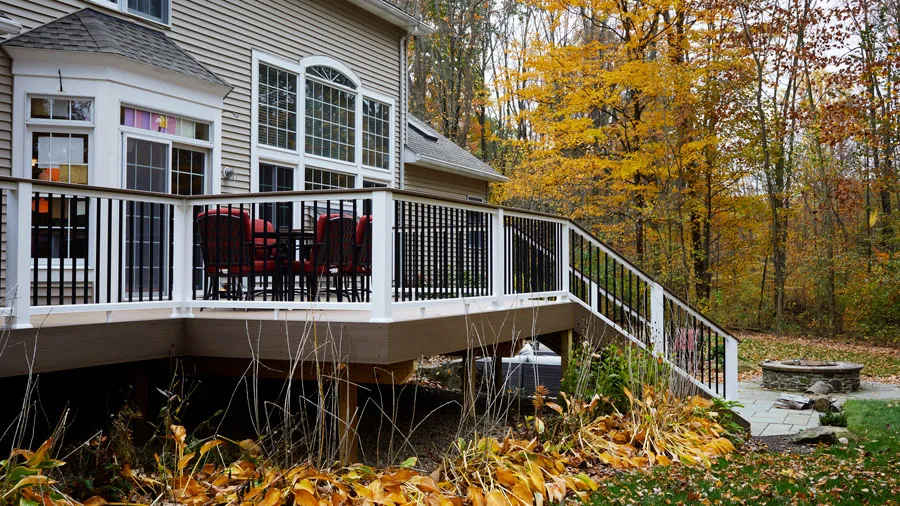
If your deck has overhanging tree branches, fall is the perfect time to trim them away. If a branch breaks under the weight of snow or the push of wind, it can damage your deck or home. Being proactive in the fall will prevent costly repairs come spring.
Similarly, if you have shrubs, bushes, or other plants near your deck, trim them to leave at least 12 inches between the deck and the plants. This will keep your deck clear of any outgrowths that could get pushed up against your deck in the snow or rain - prime candidates to stain or discolor your deck.
#5: Inspect Your Deck for Any Future Issues
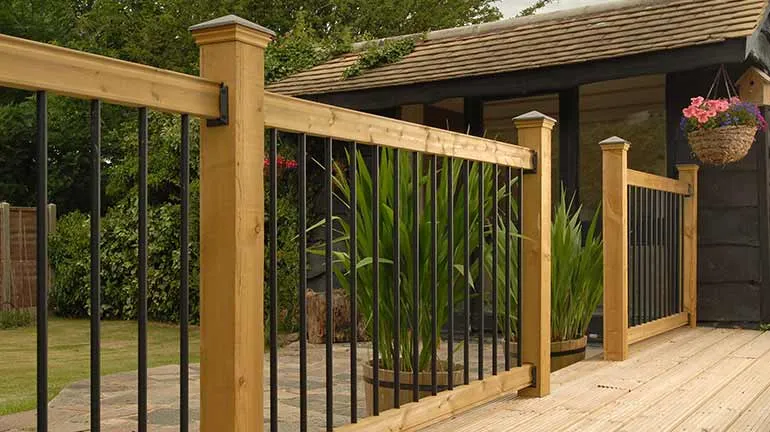
While you're doing your fall cleaning, you can save lots of time and future headaches by looking over your deck for any potential issues. We recommend inspecting a few key areas:
The Outside Perimeter Of Your Deck
- Walk around the outside of your deck and look for anything that's rotting or cracking
- Check your deck footings and lightly shake them to make sure they're still secure
- Check the hardware that connects your beams to your posts, if you can see it
- Make sure your stair stringers are still securely attached to the edge of your deck
Under The Deck
- Go under your deck and look up at the deck boards. Check the underside for any insect damage, rot, mold, or mildew.
- Check that your ledger board (along your house) is attached securely to your rim joists (the outside joists of your deck frame that run perpendicular to your house)
- Look for any rust on the screws or hardware holding your frame together
Your Deck Surface
- Walk along your deck surface and listen for any pops, creaks, or unusual give in your deck boards
- Look for any look nails, screws, or fasteners
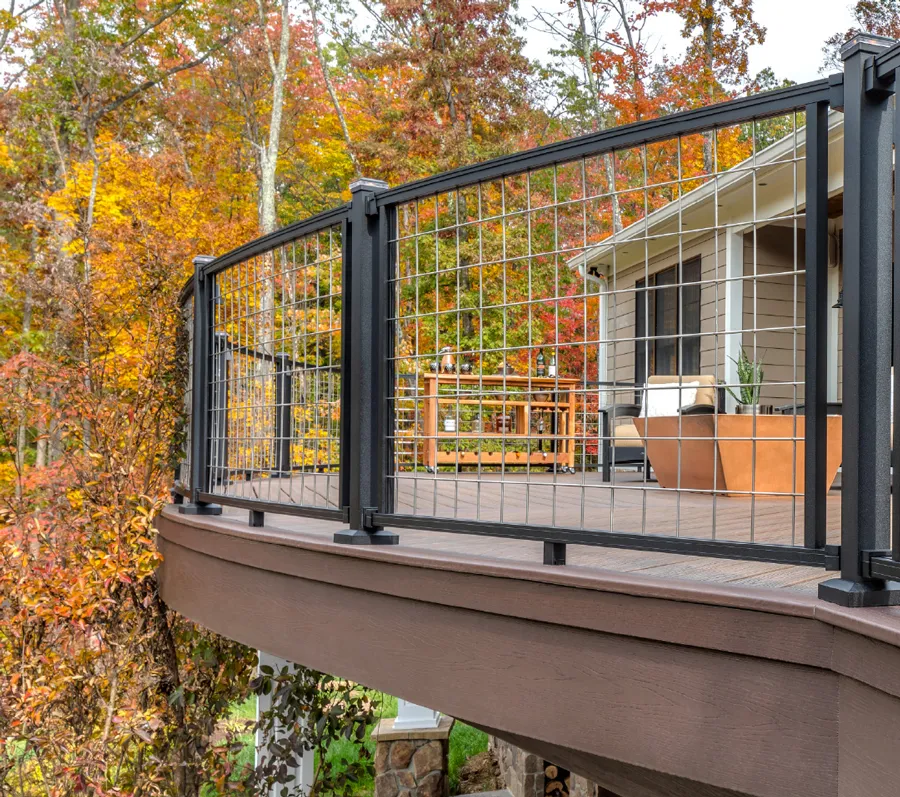
- Check each section of railing for any give or any rusting fasteners
Learn more: How To Check And Inspect Your Deck?
If anything in your inspection is amiss, you'll want to start looking into replacement or repairs, either before the snow falls or right away when spring hits. Which leads us to tip #6…
#6: Plan Ahead for Next Season's Projects
It's always better to be proactive when it comes to house projects. If your inspection turns up something you need to repair (or if you have an upgrade you'd like to make on your deck) the fall and winter are great seasons to plan ahead.
If you're in a warm-weather climate without snow, you may even be able to book a contractor to complete your job in the winter season. If you're in a snowy climate, you can set up a contractor ahead of time, before their spring weekends get booked.
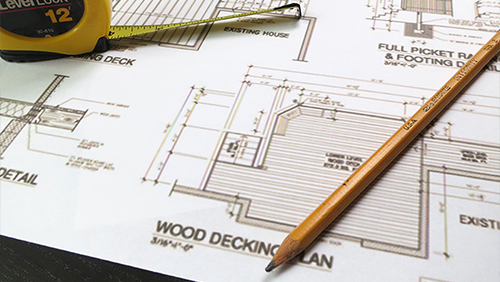
The "offseason" gives you time to research and plan to figure out what projects fit your budget and your goals for the next year.
If you want help planning, you can call our team of experienced deck project planners at 1-888-824-5316 and we'll learn about how you use your deck and how you envision it looking - then we'll help you plan a personalized deck that fits your timeline and budget!
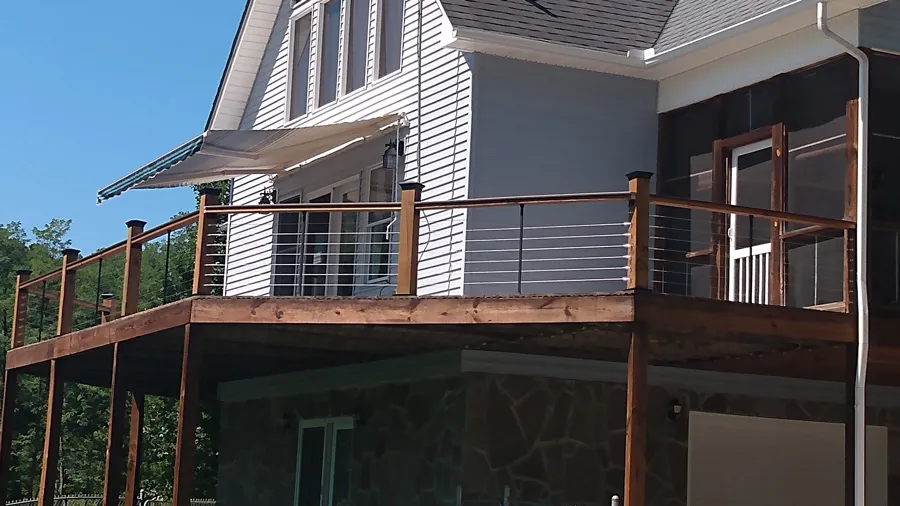
Here are some fun before & after images of customers who worked with DecksDirect:
Before
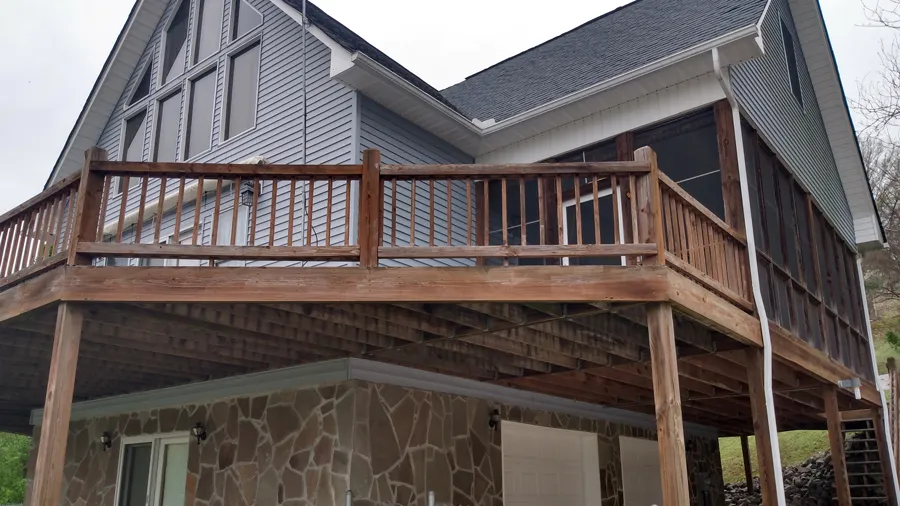
After
Before
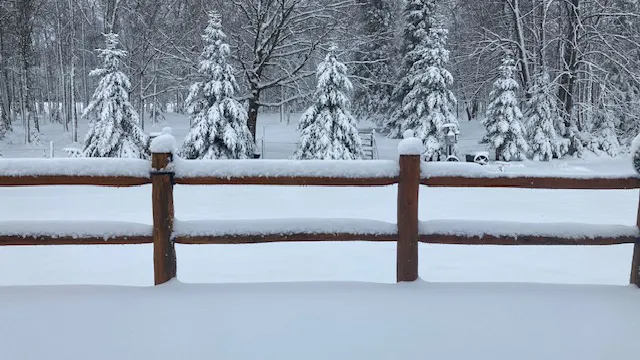
After
