


SCREENEZE® Snap-Track Screen
An incredible way to expand your living space outward, the SCREENEZE® deck screen line of products can help complete your three-season porch or screened-in patio area.
SNAPTRACK by SCREENEZE® can be installed on the inside or outside face of your porch to complete your outdoor living space look. This new screen installation system uses a snap technology that features concealed screws and fasteners for a cleaner, more complete look for your three-season screened space.
Cast from aluminum and UV-protected window grade vinyl, the SCREENEZE® SNAPTRACK system is easy to install and delivers a nearly invisible deck screen setup once fully mounted.

Installation Steps for the SCREENEZE® SNAPTRACK System
First, determine if you are going to install SNAPTRACK on the exterior or interior face of your porch and if you are utilizing the optional Corner Plinth to avoid miters.
Slide the vinyl cap onto the aluminum base to prepare for cutting. Place pencil marks at the inside corner points where you want to install the SNAPTRACK and measure the distance between the two points. We recommend holding the SNAPTRACK about 1/8 inch away from the edge of the opening, however, so it can easily be installed anywhere on the face of the post.
After measuring, cut the mitered angle on the SNAPTRACK aluminum base and vinyl cap together – be sure the vinyl cap does not move on aluminum base while making cuts. If using the optional Corner Plinth Kit, straight cut the SNAPTRACK 1/8 inch shorter than your overall measurement. This will leave space for the installation of the Corner Plinth.
After cutting, slide the vinyl cap of the aluminum base – keep pieces organized so you know what piece was paired together and cut for each side of your opening.
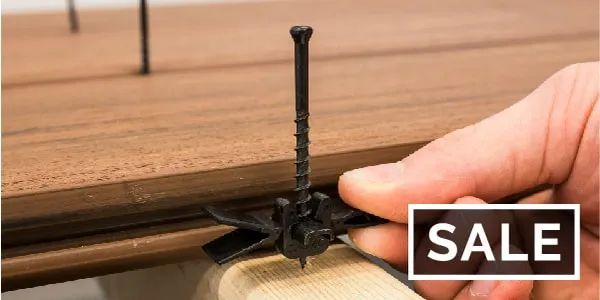
Secure the aluminum base to the porch post with included screws. We recommend pre-drilling pilot holes to prevent edge splits depending on materials and closeness to the edge.
Installing the screen: square the screen fabric to the top track and secure the screen with the vinyl cap to the aluminum base by pressing or tapping the vinyl cap with your hand or rubber hammer to the outside corners for about 3 inches on each end.
Once the vinyl cap is secured at the corners move to the center and again secure the screen by pressing or tapping the vinyl cap with a rubber hammer. Next, tap from the center out towards each corner. Double-check that vinyl cap is secure and the screen fabric is still square.
Install the vinyl cap on the bottom of the opening in the same manner. Then proceed to the sides and secure the vinyl cap in place over screen fabric in the same manner. If you used the Corner Plinth, do not install it now.
Trim excess Screen; using the outside edge of the vinyl cap, hold your razor knife at a perpendicular angle as a guide for trimming the screen. Trim the excess screen on all sides of your opening. If you used the Corner Plinth, trim across that point at about a 45-degree cut.
If you are utilizing the optional Corner Plinth Kit, install with the included screws after you trim the fabric.