How to Install Trex Lighting
Rich color-coordinating finishes, durable composite and aluminum materials, and modern designs; Trex Deck Lighting offers an amazing option to provide safety for nighttime enjoyment as well as a chance to add a touch of magic to your deck design.
With an innovative plug-and-play wiring method, installing Trex Lights on your home's outdoor living space is easy enough for any DIY deck builder to add! As simple as plugging your smart phone into its charger, adding Trex Lighting to your backyard area is straightforward and clear.
Installing Trex Deck Lights
Read below to find out how to install Trex Lights in your deck design today! From Trex post cap lights to stair riser lights and deck rail lighting; we've got the details here.
Plan Your Deck Light Wiring Layout
Don't run lighting wires between deck boards and joists. Instead, safely staple all wires in place along the outer edges of the deck frame. Install Trex splitters to inside of framing using the included installation screws and the pre-drilled openings in the Trex light splitters.
Install a Trex lighting splitter at every post base where lighting will be added and depending on spacing in between each riser and recessed light.
Attach the male lead from the Trex lights to the female connections of the splitter. Also, plug male-to-male connection wires in between each Trex splitter together. Continue until all of the wiring from the deck lights are attached to splitters and connector wires are attached in between Trex splitters.
Cap off any unused female connections on splitters using the plastic caps provided to prevent any water or debris from entering over time.
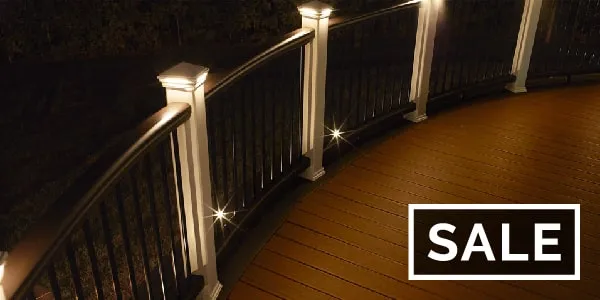
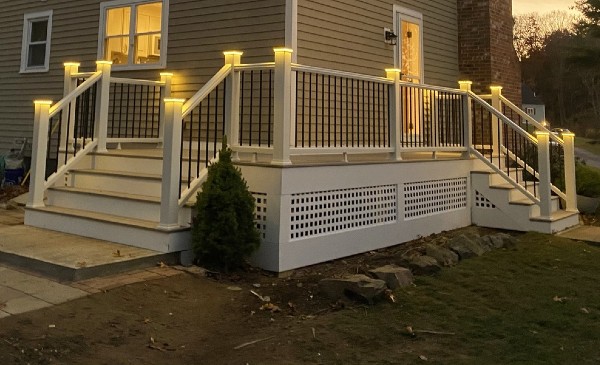
Installing Trex Post Cap Lights
NOTE: Install post cap lights after the finishing your Trex railing build. The post sleeve and post skirt must be installed in place.
Connect the male leads from the deck light extension wire to the female connector from post cap light. Also, connect male-to-male connection Trex extension wires in between each splitter. Continue the process until all wiring from the deck lights is attached to splitters and connector wires are attached in between splitters.
After verifying wiring is correct by turning lights on, attach the post cap in place on the top of deck post with silicone caulk.
Installing Trex Deck Rail Lights
Place post sleeve over pressure-treated post and mark desired height, centered on post sleeve for deck rail light location.
Drill a 1 inch opening through the Trex post sleeve. Drill deep enough to mark the location on pressure-treated post within the post sleeve.
Remove the post sleeve off from the wood post. Drill out existing hole on pressure-treated post 3/4 inch deep. Drill two additional holes vertically below main hole—this will allow space for wiring after post sleeve is attached.
Leave enough slack at top of lead wire and attach lead wire to post using staples. Attach lead wire to splitter under decking.
Slide post sleeve back over post. If using a post sleeve skirt, make sure to install the skirt first. Connect plug on deck rail light to lead wire and tuck wiring into previously drilled-out pockets on post.
Align holes for screws horizontally and attach fixture base to post with provided screws.
Line up polycarbonate lens with fixture housing. Twist onto fixture base. Continue until all wiring from lights is attached to light splitters and connector wires are attached in between Trex splitters.
Always test the installed deck lights with the power turned on. This will ensure that all wiring connections are fully set and will prevent time-consuming troubleshooting later on.
Installing Trex Riser Lights
NOTE: Install stair lights after stairs and risers have been installed.
Mark locations for each light, generally 4 inches above the stair tread.
Drill a 1 inch diameter hole at least 1 inch deep into riser. If riser material is thicker than 1 inch, use a 1/2 inch drill bit to create a passage for wires.
Thread wires through hole. Press light into hole, ensuring lens is horizontal. Make connections behind stairs from male lead wire from recessed light into female connection on Trex light splitter. Also attach male-to-male connection wires in between each splitter.
Continue until all wiring from lights is attached to splitters and connector wires are attached in between splitters.
Installing Recessed Deck Lights
Mark locations for lights in deck boards, then drill a 1 inch diameter hole roughly 3/4 inch deep into deck board. The opening cannot go all the way through deckboard or light will fall through. Make sure drill bit is completely perpendicular to the deck board.
Drill a 1/2 inch diameter hole in base of the first hole through deck board.
Thread wires through hole. Do not pull the LED light into hole by pulling on the wires. This may damage wires or the LED fixture itself. Press light into hole until flush with surface.
Make connections under deck from male lead wire from riser light into female connection on Trex splitter. Also attach maleto-male connection wires in between each splitter. Continue until all wiring from lights is attached to splitters and connector wires are attached in between splitters.
Shop Trex Lighting
