


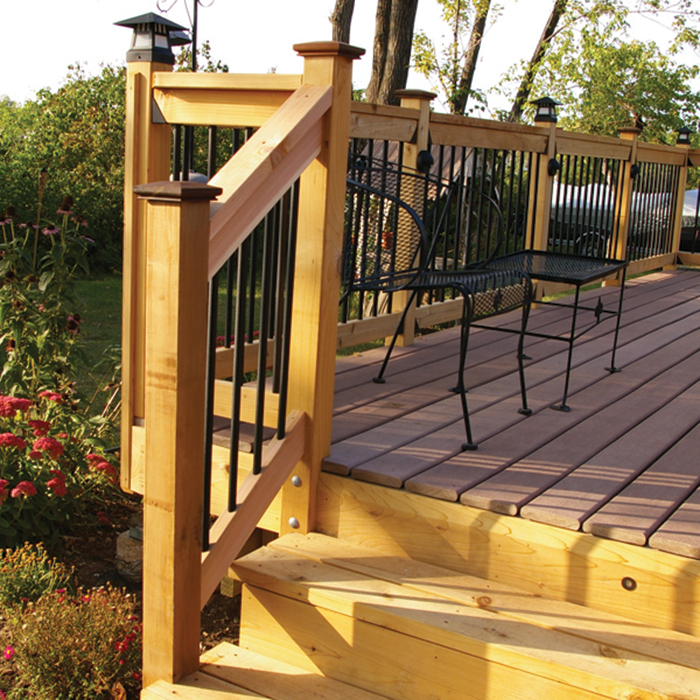
Baluster Installation How to - Baluster Guide
How To Install Balusters On Wood Deck Railing
Learn how to install balusters on your deck today! Be sure to review the specific instructions included with the balusters you select for your deck. If you’re installing deck lighting and handrails simultaneously, your railing may be modified to accommodate wiring. For more information, see DecksDirect's Lighting Guide. As always, don't forget to use proper safety equipment, and follow proper safety procedures when installing balusters.
Baluster Installation Tool List
Below is a list of tools and supplies you'll need for installing deck balusters:
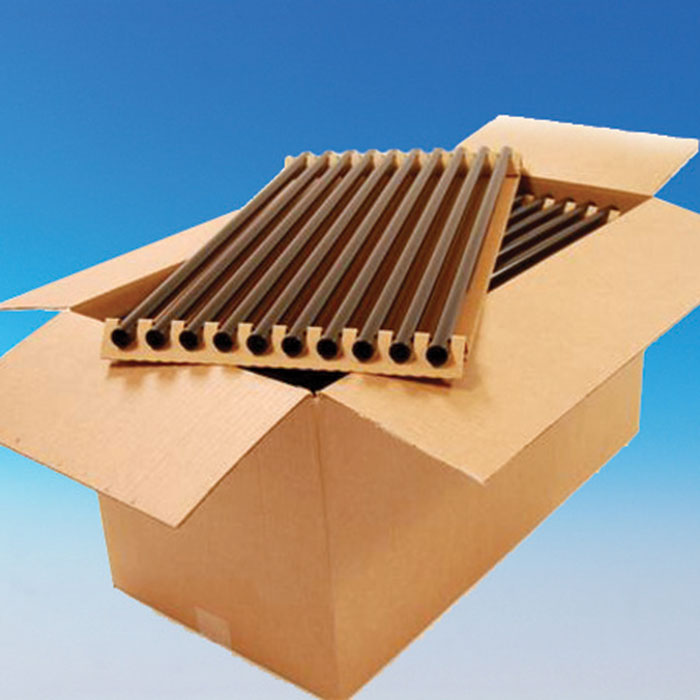
- Deck Balusters
- Balusters Connectors (recommended for non-face-mount balusters)
- Rail Connectors (recommended for level & stair wood railings)
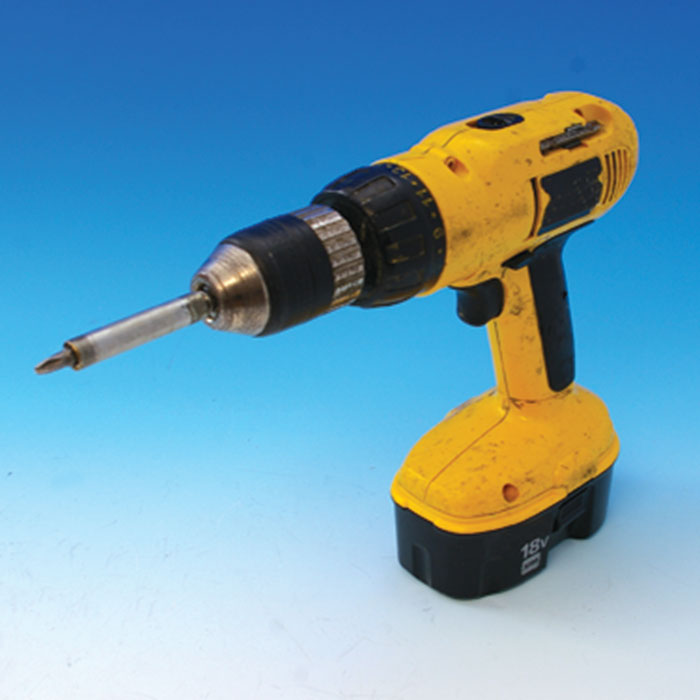
- Drill & Drill Bits
- Pencil
- Speed Square
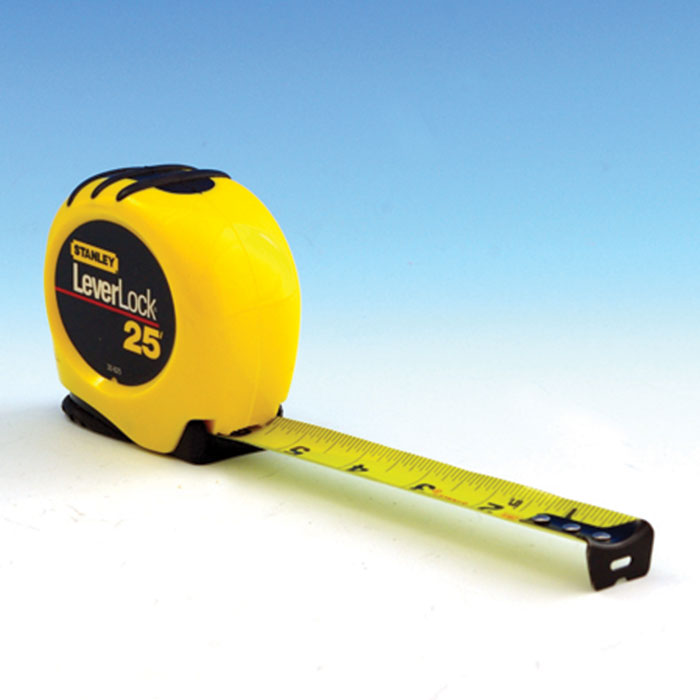
- Tape Measurer
- Safety Glasses


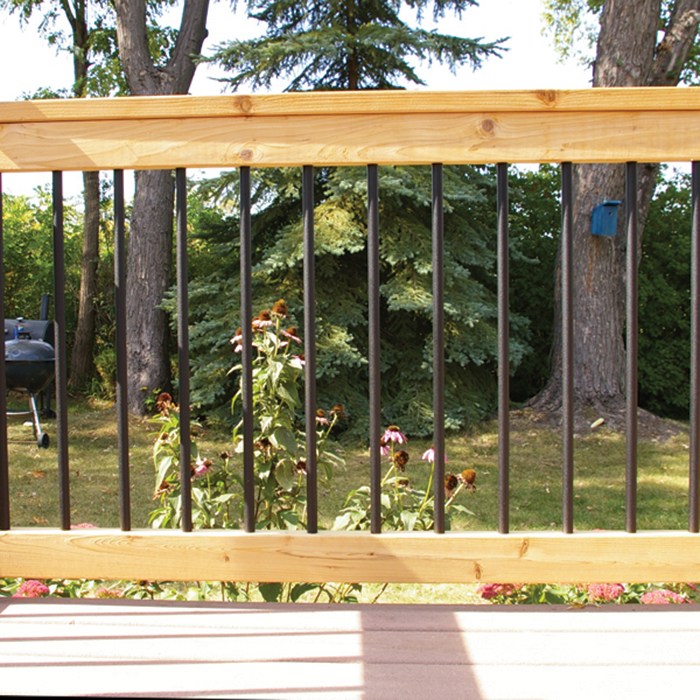
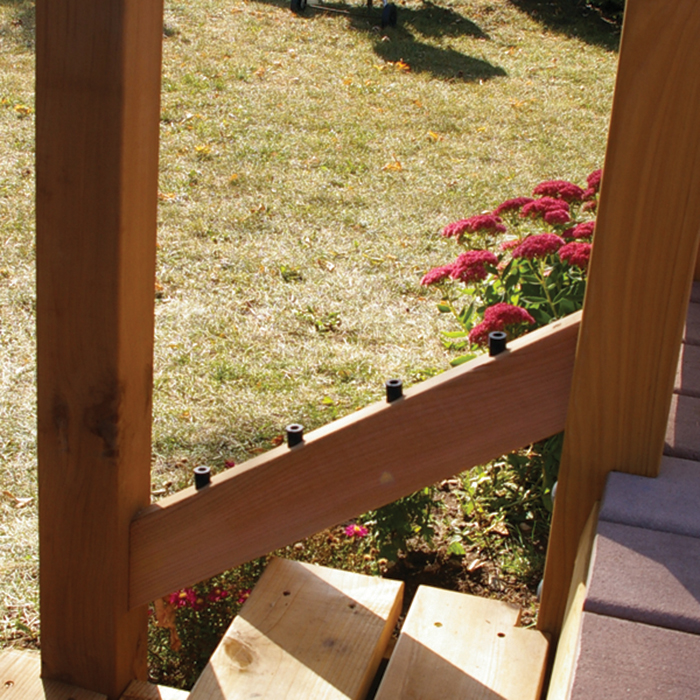
Installing Balusters Between Rails - Level
To install balusters on a section of level railing, check out the two videos below: one demonstrates with round balusters and the other with square balusters. Both videos use metal balusters from Deckorators. We’ll lay out the steps from both videos below.
Installing Round Aluminum Balusters
Installing Square Aluminum Balusters
Step 1
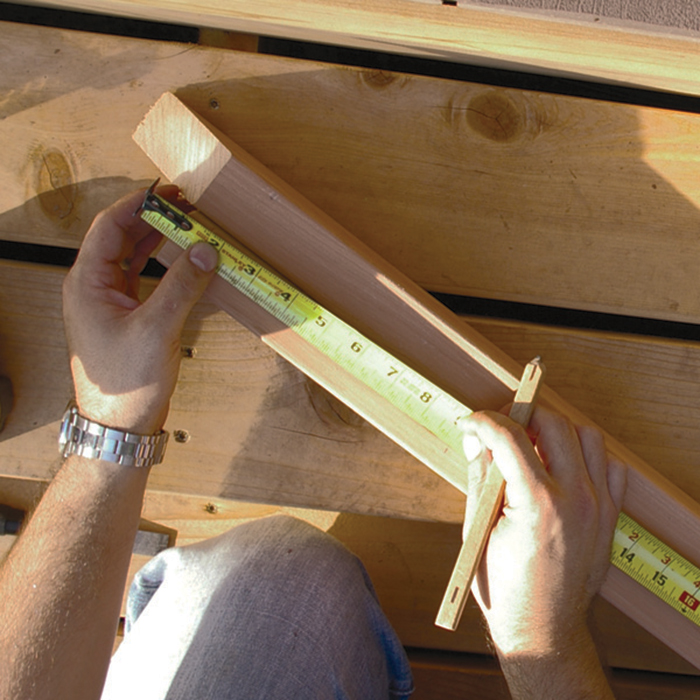
Measure the distance between your handrail posts and cut two equal-length rails to create the top and bottom railings. Place the top and bottom rails side by side in their correct installation positions.
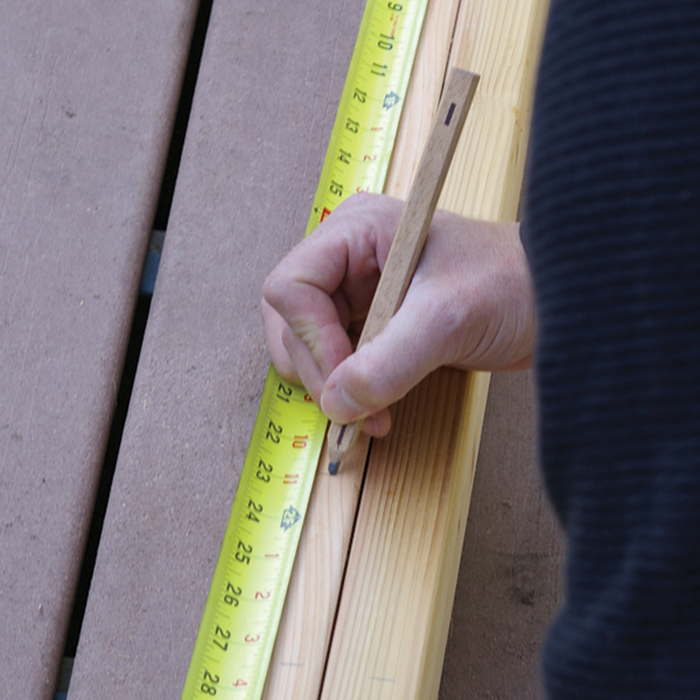
Step 2
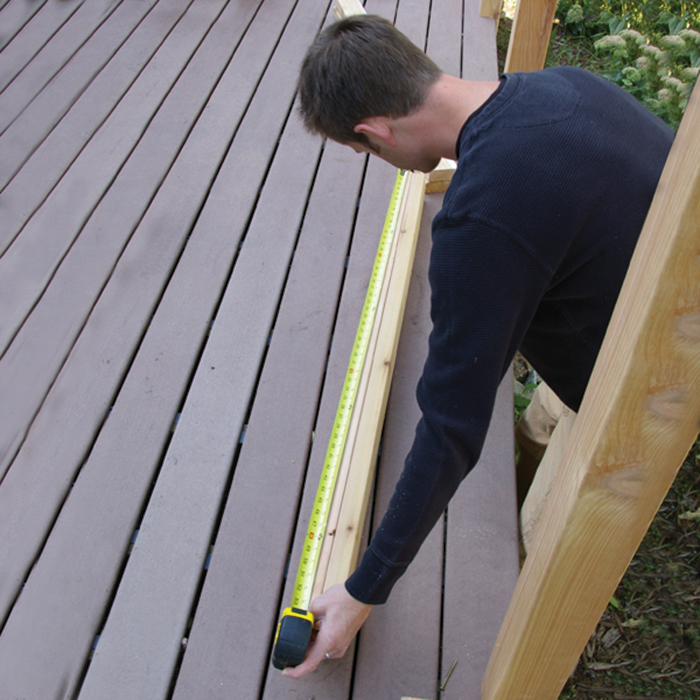
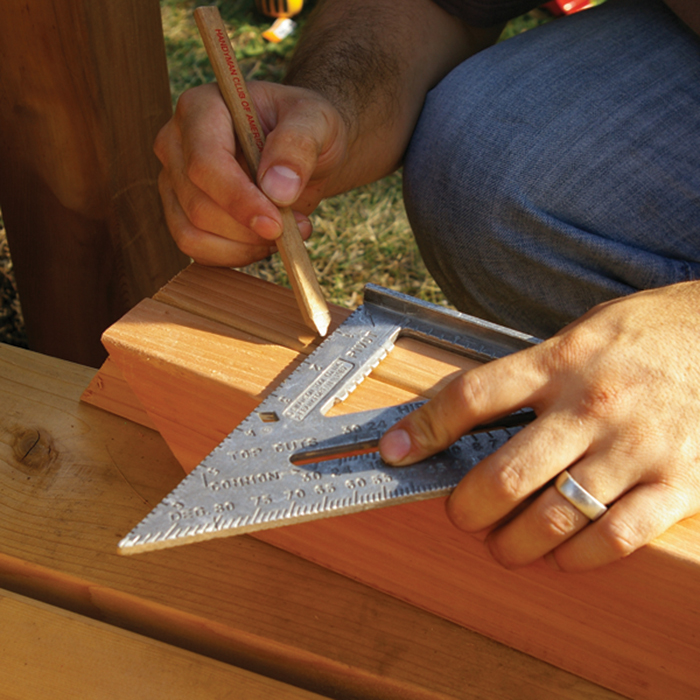
Using a tape measure and pencil, locate and mark the center of the rails. Working outward from the center, measure and mark a line every 3-¾ to 4-½ inches, depending on your desired spacing, until you reach the end of the rail.
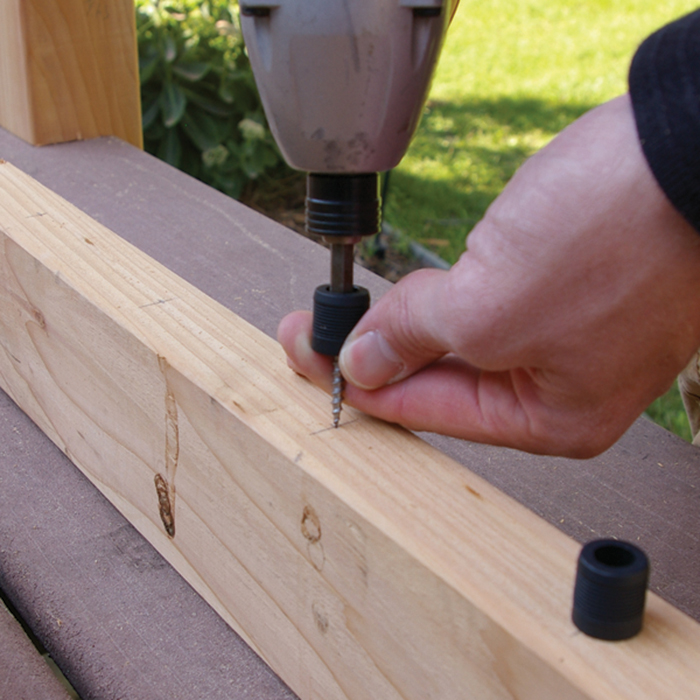
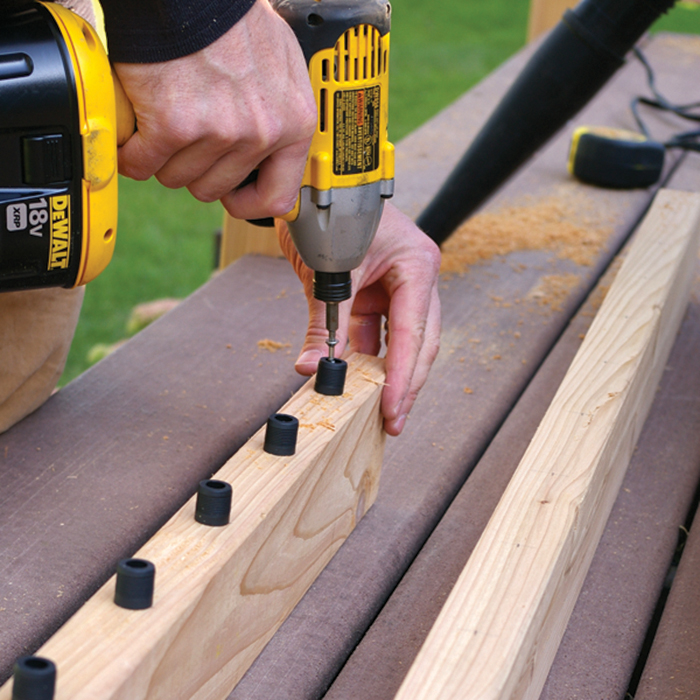
Step 3
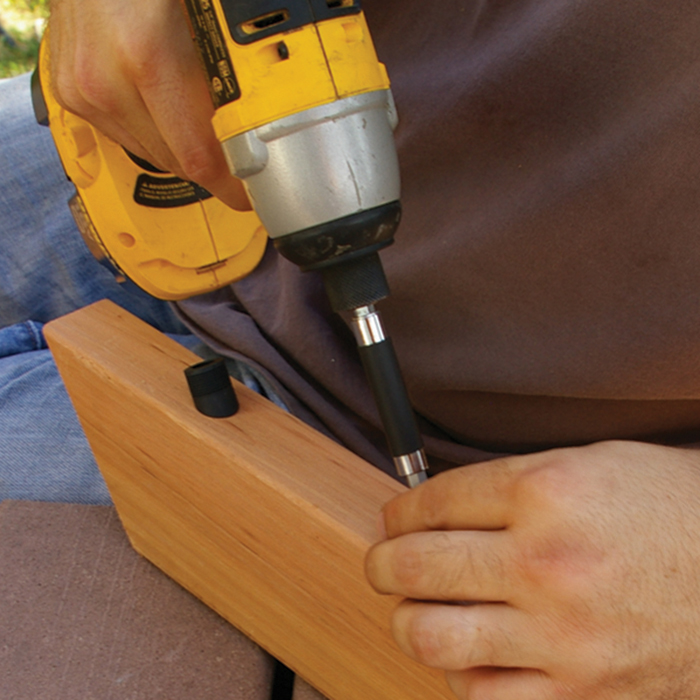
Begin attaching the baluster connectors on each mark. Place the included installation screws into each connector. Then, holding the screw and baluster connector firmly, position the point of the screw directly onto the center of the marked location. Using a drill, drive the screw into the railing until the connector pulls tight to it. Be careful not to over-tighten the connection.
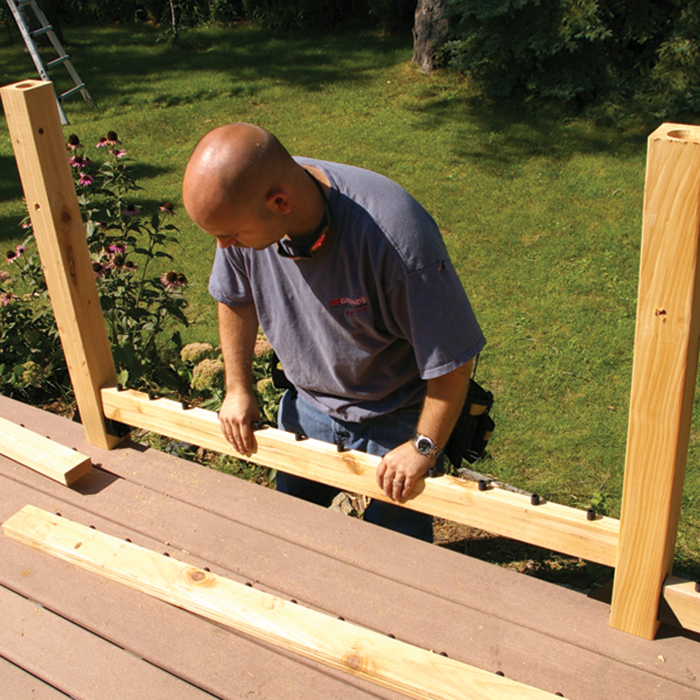
Step 4
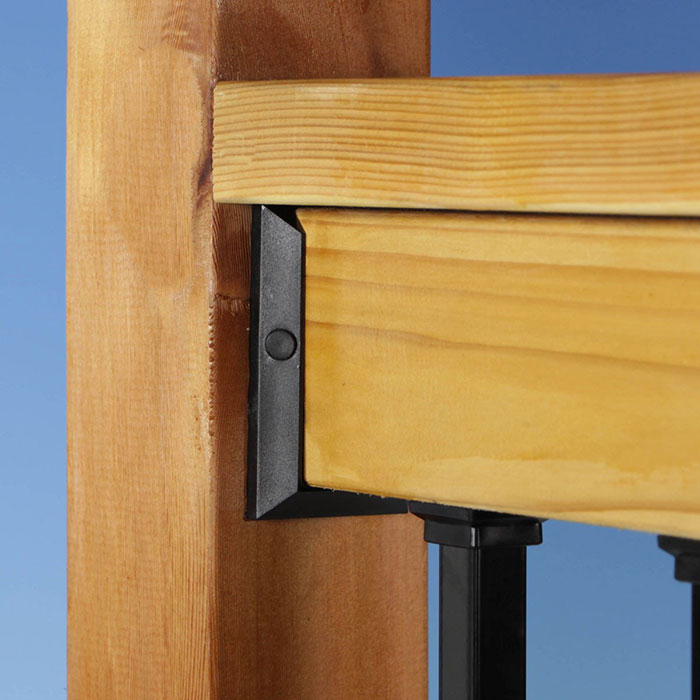
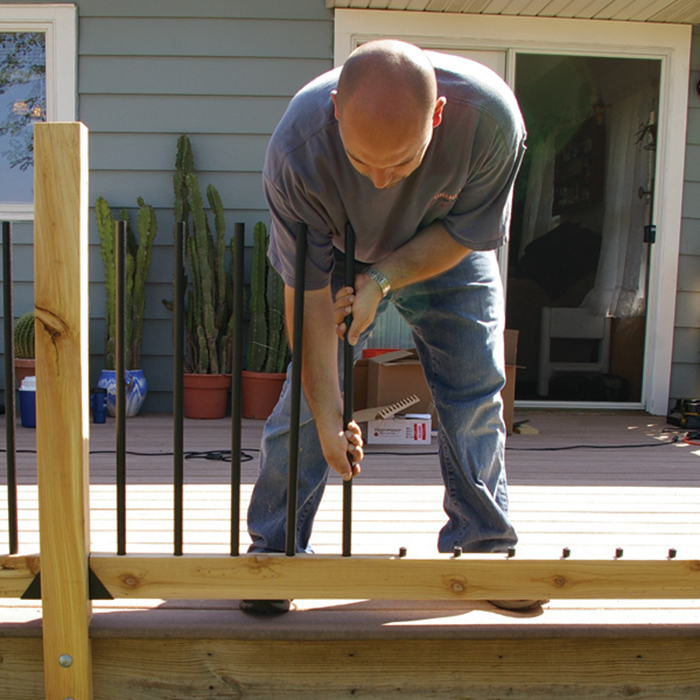
Mount and install the level bottom rail between the posts. Using a Rail Connector will give your railing extra strength and security compared to simply using standard deck screws. Once installed, slide a baluster over each established connector, ensuring each baluster is firmly pushed to the bottom of the connector.
Step 5
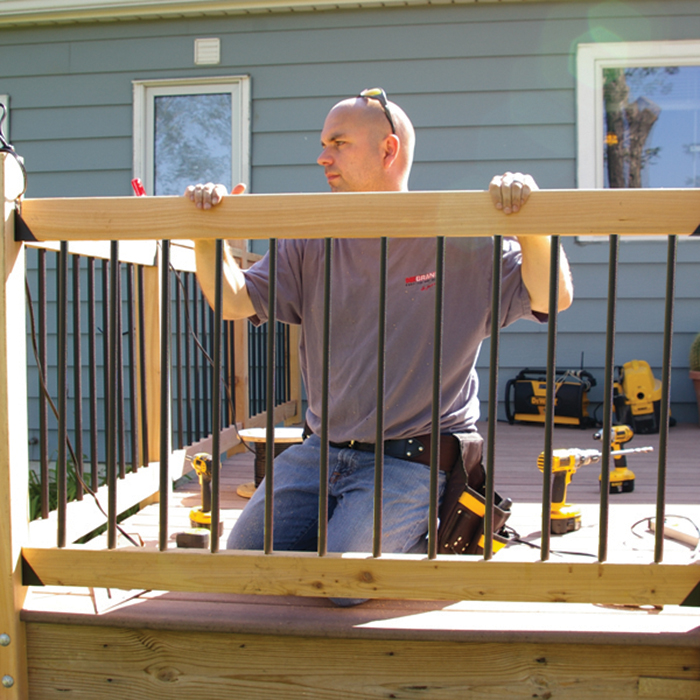
Position and install the top rail over the balusters. Beginning at one end of the rail, start aligning balusters with their coordinating connectors. After each baluster is linked to a connector, press down firmly on the top rail to ensure that the balusters are pressed fully over the connectors. You may also use a rubber mallet to do this.
Step 6
Mount and install the top rail level between the posts using rail connecting brackets or hardware.
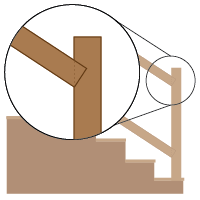
Installing Balusters Between Rails - Stair
To install balusters on a stair railing section, check out the video below, which uses metal balusters from Deckorators as an example. We’ll lay out the steps of the process in greater detail below.
Installing Stair Balusters

Step 1
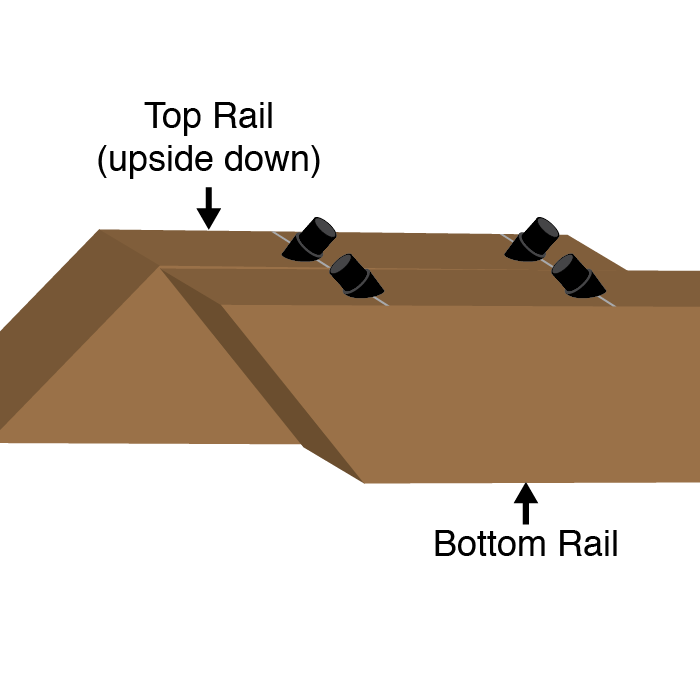
Lay each stair rail - in the position that you will be installing them - on top of the stair treads and flush against the stair posts. Using those posts as a guide, mark the rails to indicate the proper angle, and then cut the rails. Place the cut rails side by side in their installation position. This will mean that the top rail will be turned upside down and the ends of the boards will have different angles.
Step 2
Using a tape measure and pencil, locate and mark the center of each rail. Then, working outward from the center, measure and mark every 5-1/2 inches until the end of your rails. If the final installation point is less than 2-1/4 inches from the end of the rail, then offset ALL of the installation marks by 2-1/4 inches to remain symmetrical.
NOTE: This spacing will only be accurate if used on a standard staircase angle range of 30 to 35 degrees. For ramps or uncommonly angled staircases, a different spacing width should be determined.
Step 3
Stair baluster connectors are angled to make installation as easy as possible. Remember that the connector should be positioned so the angle lines up with the angle of the railing. Insert the included installation screw into the connector and use a drill to attach the connector, centered on the marked locations. Remember to begin drilling vertically into the railing, but once the screw connects with the wood, adjust your drill to finish at the correct angle. Be careful not to over-tighten your connector.

Step 4
Mount and install the bottom rail between the posts. Using a Rail Connector will give your railing extra strength and security compared to simply using standard deck screws. Once installed, slide a baluster over each established connector, ensuring each baluster is firmly positioned to the bottom of the connector.

Step 5
Position and install the top rail over the balusters. Beginning at one end of the rail, start aligning metal balusters with their coordinating connectors. After each baluster is linked to a connector, press down firmly on the top rail to ensure that the balusters are pressed fully over the connectors. You may also use a rubber mallet to do this.
Step 6
Mount and install the top rail between the posts using rail connecting brackets or hardware.
Installing Face-Mount Balusters - Level
To install face-mount balusters, check out our video below, which demonstrates using Deckorators metal balusters.
Installing Face-Mount Balusters
Step 1
Measure the distance between your handrail posts and cut two equal-length pieces to create the top and bottom rails. Mount and install the rails at their desired heights on the posts. Using a Rail Connector will give your railing extra strength and security compared to simply using standard deck screws.
Step 2
Using a tape measure and pencil, locate and mark the center of each rail. Then, working outward from the center, measure and mark a line every 3-¾ to 4-½ inches, depending on your desired spacing, until you reach the end of the rail.. If the final installation point is less than 2-¼ inches, then offset ALL of the installation marks by 2-¼ inches to remain symmetrical.
Step 3
To install the balusters onto the rails, place the included plastic or nylon washer in between the rail and the baluster and attach using the included installation screws. It is helpful to keep a level or speed square handy at this time to ensure a plumb mount.
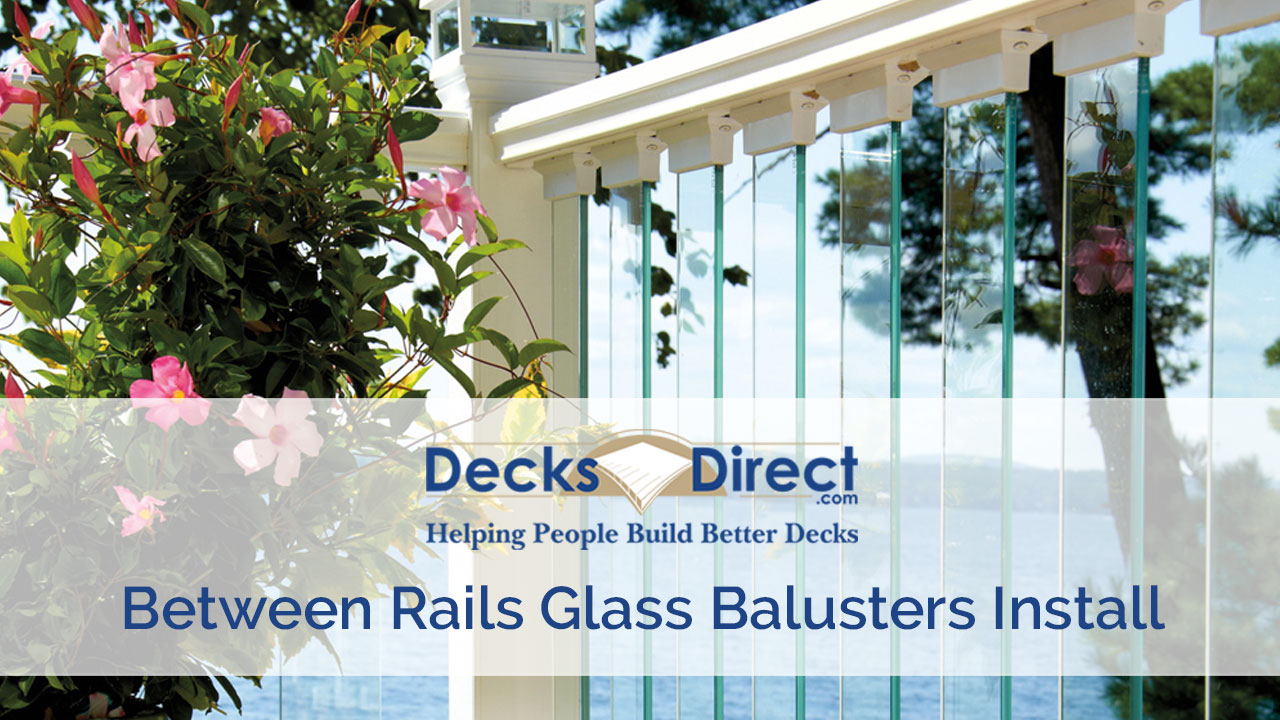
Installing Glass Balusters Between Rails
Glass balusters will install slightly differently than metal balusters. We’ll run through two glass baluster installation methods below.
Step 1
Measure the distance between your handrail posts and cut two equal-length rails to create the top and bottom railings. Place the top and bottom rails side by side in their correct installation positions. To figure out the number of glass balusters you’ll need in a section, and to determine the best spacing, watch the Baluster Count and Spacing video at the bottom of this guide
Step 2
Use your tape measure to locate and mark the center of the rails. If you will be using an odd number of balusters in the section, you’ll center one baluster over your center point. If you’ll be using an even number of balusters in the section, then center the space between your middle two balusters on your center mark.
Step 3
After marking your rails, take two of the included installation screws and, keeping the connector centered on the mark, drill those two screws in until the connector is tight to the wood.
Step 4
Secure and install the bottom rail level between the posts. Using a Rail Connector will give your railing extra strength and security compared to simply using standard deck screws. Once installed, insert a glass baluster into each established connector, ensuring each baluster is firmly pushed into the bottom of the connector.
Step 5
Carefully place the top rail over each baluster, feeding each piece into its coordinating connector. Once all balusters are fully embedded into their connectors, install and secure the top rail in place between the posts.
Installing Face-Mount Glass Balusters
Installing Face-Mount Glass Balusters
Step 1
Measure the distance between your handrail posts and cut two equal-length rails to create the top and bottom railings. Mount and install the top and bottom rails at their desired heights on the posts. Using a Rail Connector will give your railing extra strength and security compared to simply using standard deck screws.
Step 2
To figure out the number of glass balusters you’ll need in a section, and to determine the best spacing, watch the Baluster Count and Spacing video at the bottom of this guide.
Step 3
Use your tape measure to locate and mark the center of the rails. If you will be using an odd number of balusters in the section, this will be the first installation point. If you’ll be using an even number of balusters in the section, then center the space between your middle two balusters on your center mark.
Step 4
Mark out the appropriate lengths from your equation onto the rails, confirming your spacing.
Step 5
Using four of the included rubber grommets and installation screws, install your first glass baluster on-center over the center mark. Drive the screw until the rubber grommet begins to mushroom. Be sure not to over-tighten the connection.
Are you sure you would like to remove this item from the shopping cart?
This item is a part of the approved quote. Removing it will remove all quote items from the cart.