Fast Nationwide Shipping | Financing Available With
![]()


Checkout using your account
Checkout as a new customer
Creating an account has many benefits:
Installation instructions below are for hard-wiring scenarios in completely wood railing systems. These setups, while still very DIY friendly, are going to be the most complex. Remember each lighting brand and fixture has its own specific installation instructions, read through them to find exact tool sizing and steps. The overall instructions, however, are applicable to these fixtures no matter the scenario.
If you are working with a Plug and Play wiring system, then disregard the wire stripping, wire nuts, and main run of cable. You will simply be focusing on concealing your extension cables, connector hubs, and splitters.
If you are installing on a Composite or Metal railing system, then you will have more opportunities to discreetly tuck away your wires and connections. Within your posts and post sleeves or tucked within hollow rails; your wiring arrangement will be smoother.
Installing low voltage lighting on wood railings, both new and existing, calls for a bit of prep work to hide your wires and connections. Here are some contractor tips to help hide your cables and let the beauty of your deck get all the attention:


Nylon Cable Ties
Wire Concealing Wood Trim
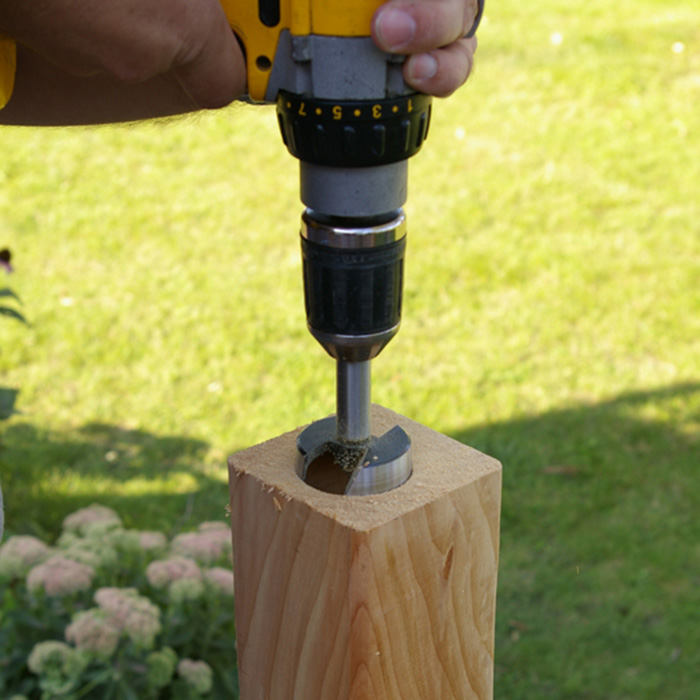
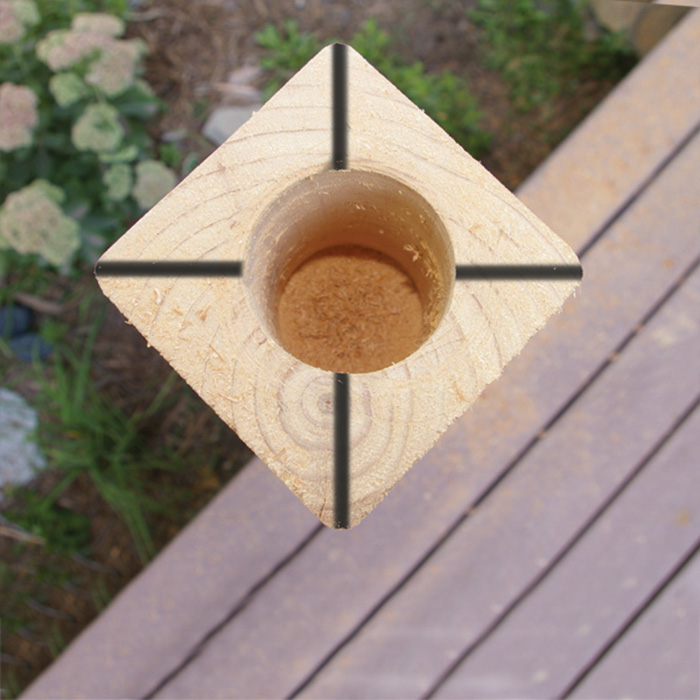
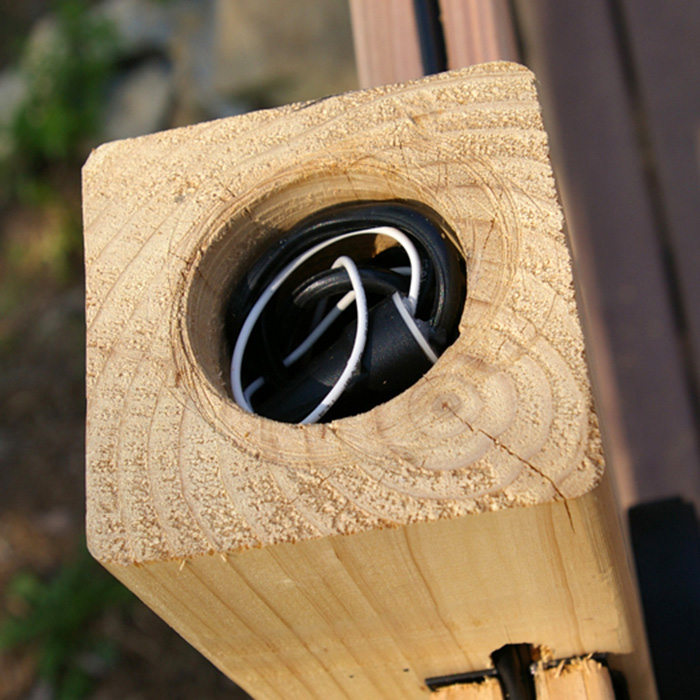
Looking down on the post, mark the center by drawing two lines diagonally from corner to opposite corner.
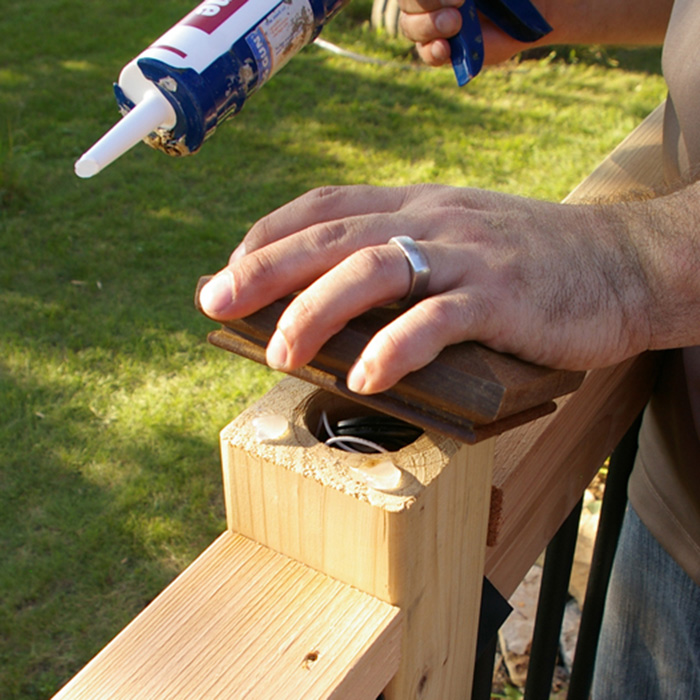
With a 1-½ in to 2 in Forstner bit, drill a hole at the center of the "X" slightly deeper than the incoming wire level. After drilling holes in each post, go back and use a Shop Vac to clear away any wood shavings or debris.
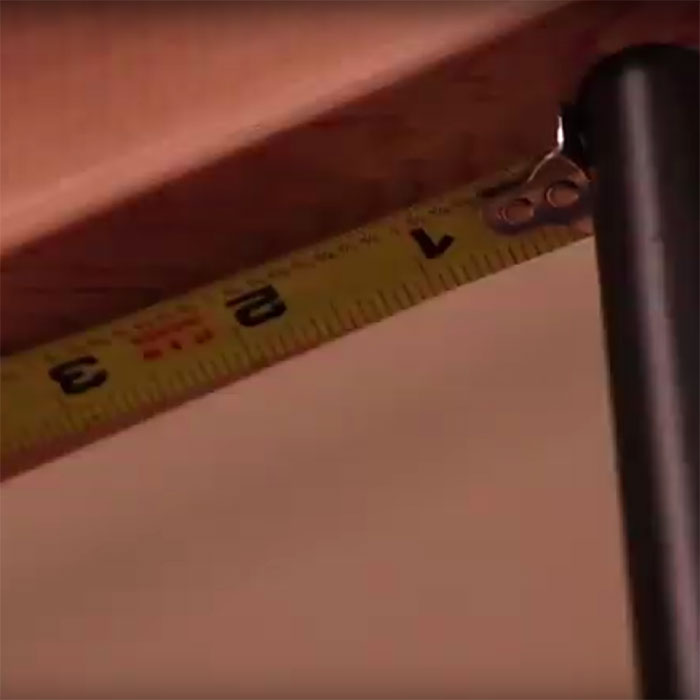
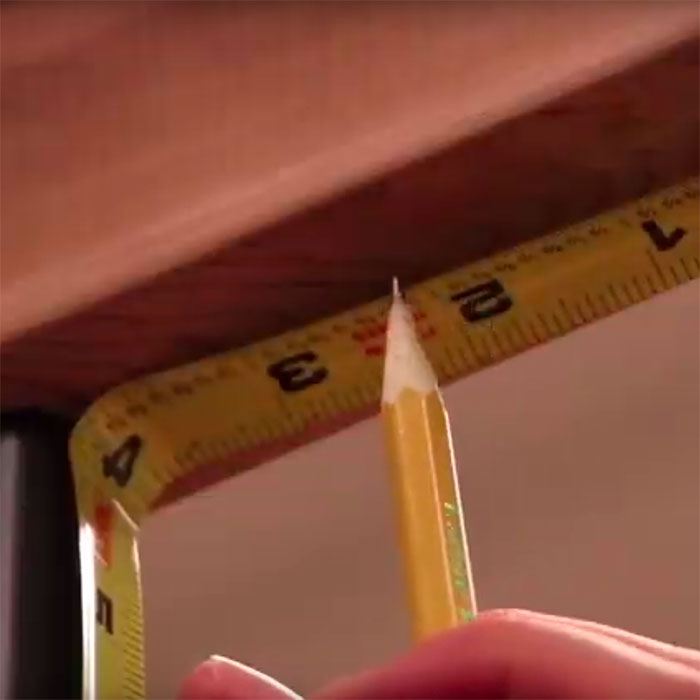
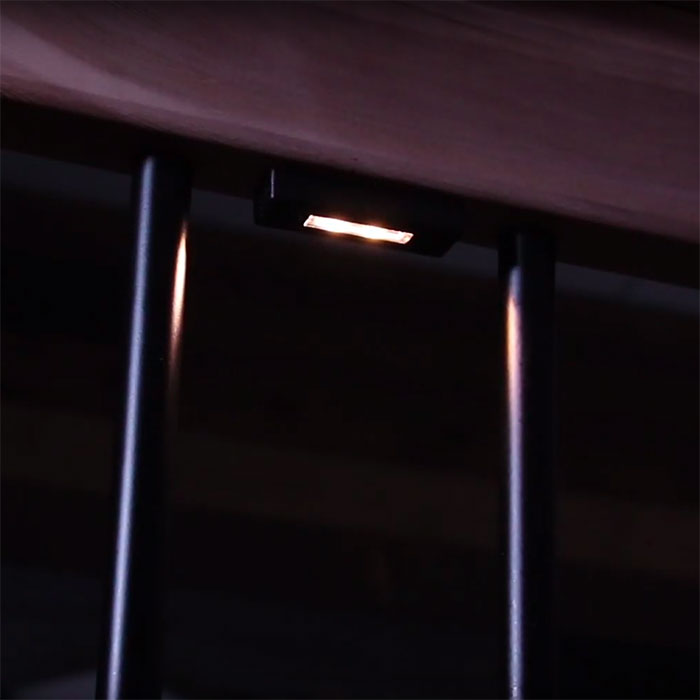
Determine and mark on your rail where you would like to mount your light. Generally, builders will install rail lights in the center of the span of the railing to provide illumination between the posts.
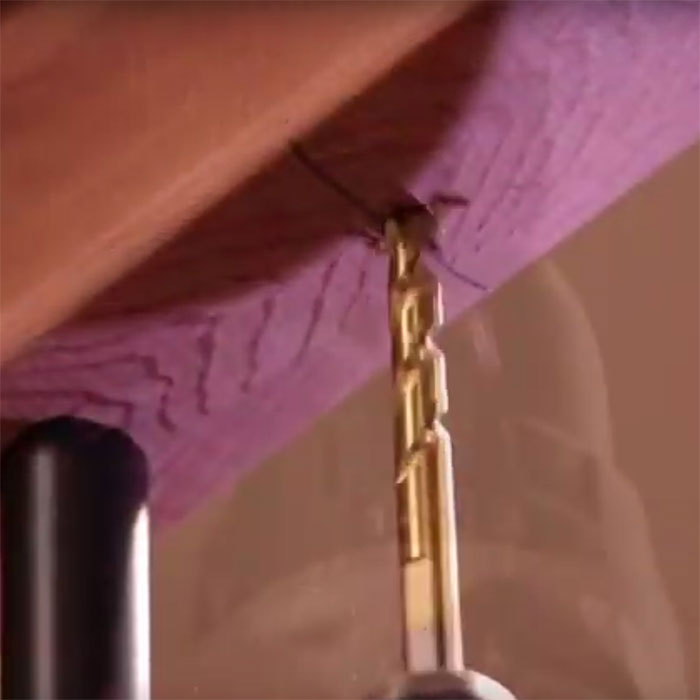
Drill the wire hole. Using a ½ in drill bit, drill a hole from the side of the handrail into the core of the deck post. Be sure to avoid mounting the rail light in line with the groove that you have made previously.
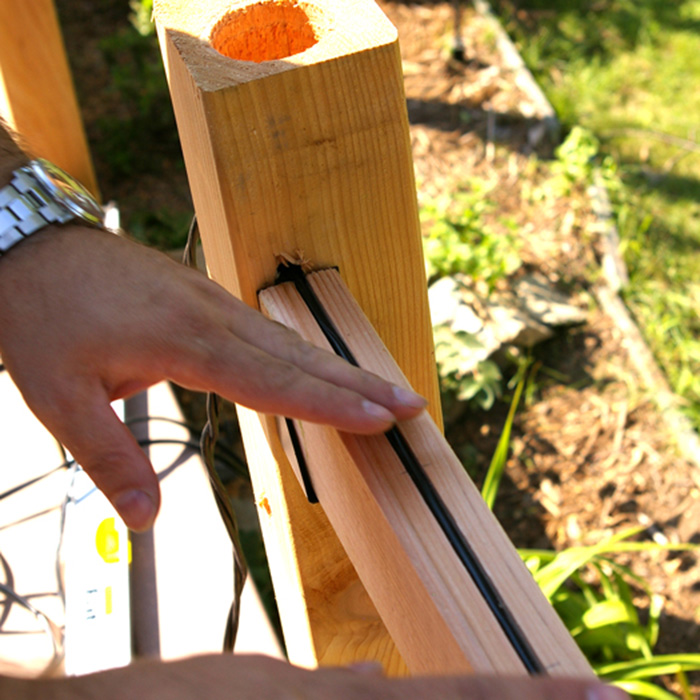
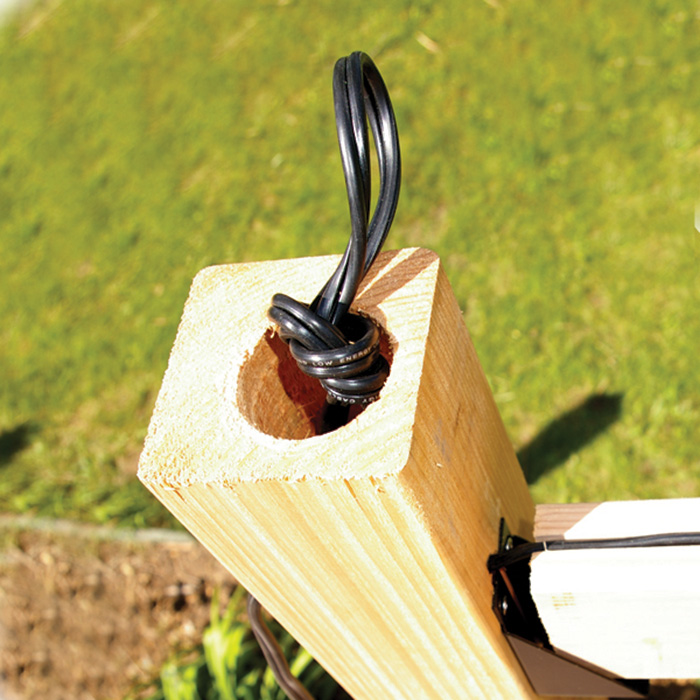
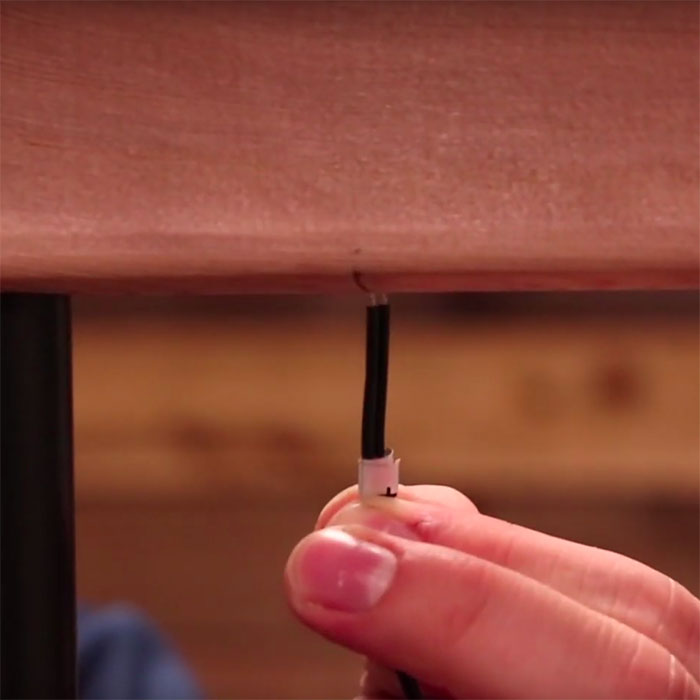
Loosely run the wire from the transformer, or first light, to this rail light leaving a loop of wire at the installation point.
New Decks: Run your wire from post to post in the railing groove you created before starting. Do not install the top rail until after the lighting system has been tested and verified to work!
Existing Decks: Loosely run the wire along posts and underside railings, threading them up and creating a loop in each deck post. Do not secure any of the wire with staples at this point.
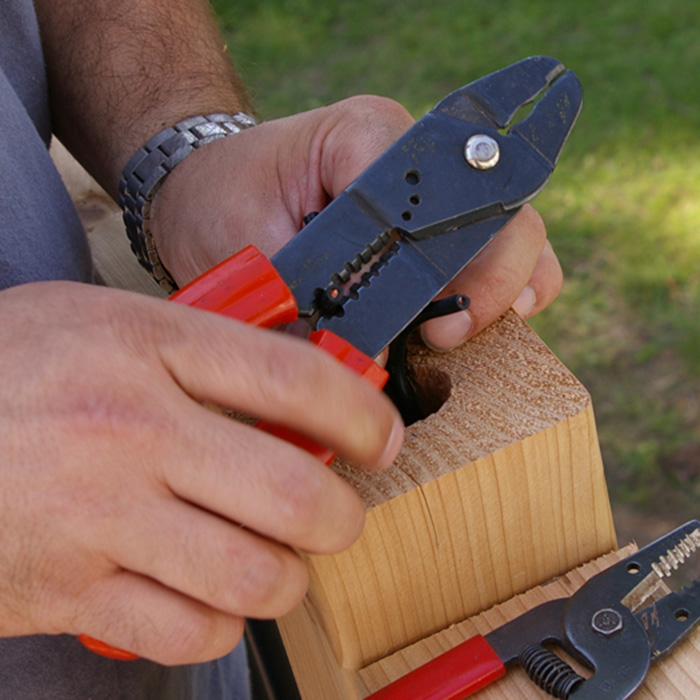
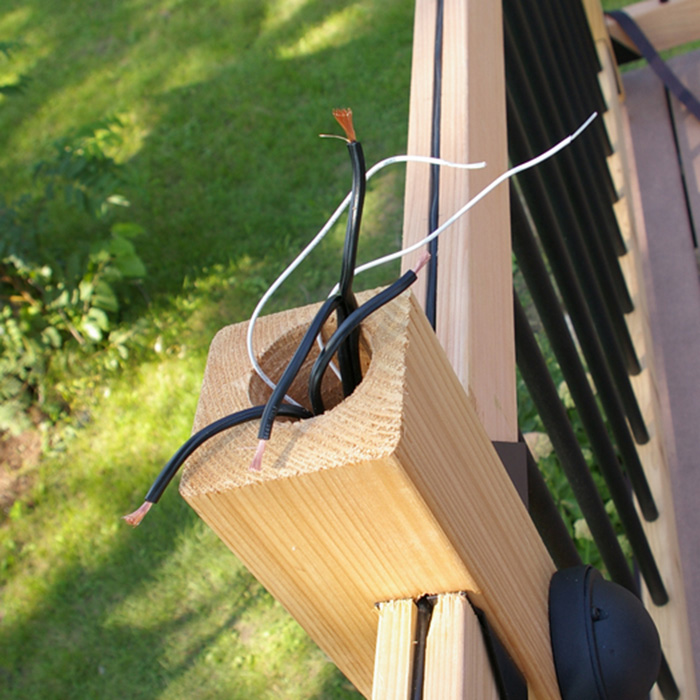
Cut back any excess wire, and leave enough exposed to make connections without excess bulk. Separate each wire pair into 2-3” single strands. Using wire strippers, remove approximately ½ in of sheathing from each wire – including the wires on the light fixture.
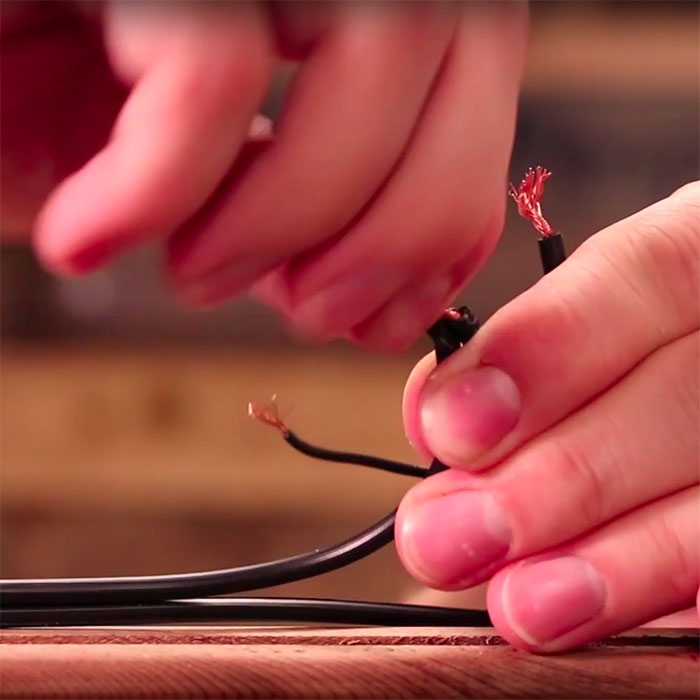
Stay consistent in matching wire types as you continue through the wiring process. Most wires will have a “smooth” black wire combined with another wire that has white lettering – matching polarity is critical for LED lights.
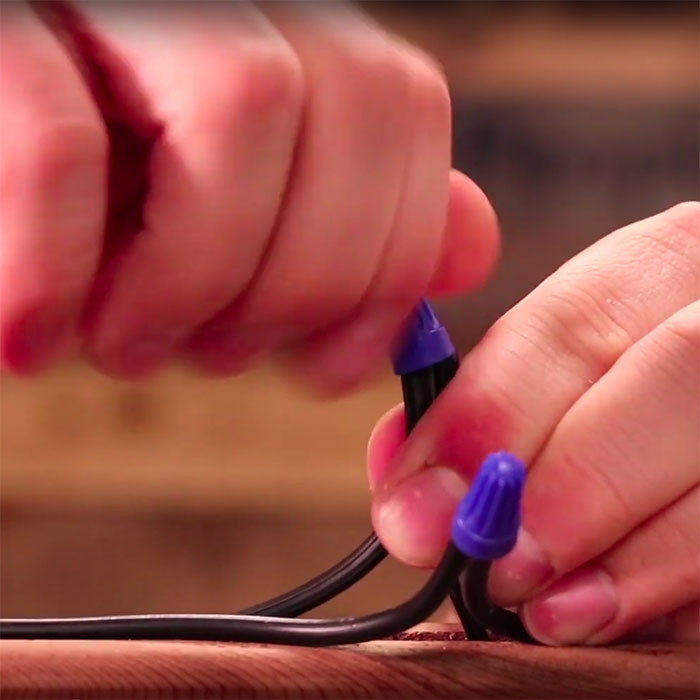
Taking one wire from each light fixture and its counterpart from the wire threaded into the post, hold the two wires together with the ends even. Twist a waterproof wire nut onto them, pushing firmly until hand-tight. Don’t over-twist the connection. Repeat for the second set of wires. Wipe away any excess silicone sealant, and then wrap the connections with electrical tape to prevent accidental movement.
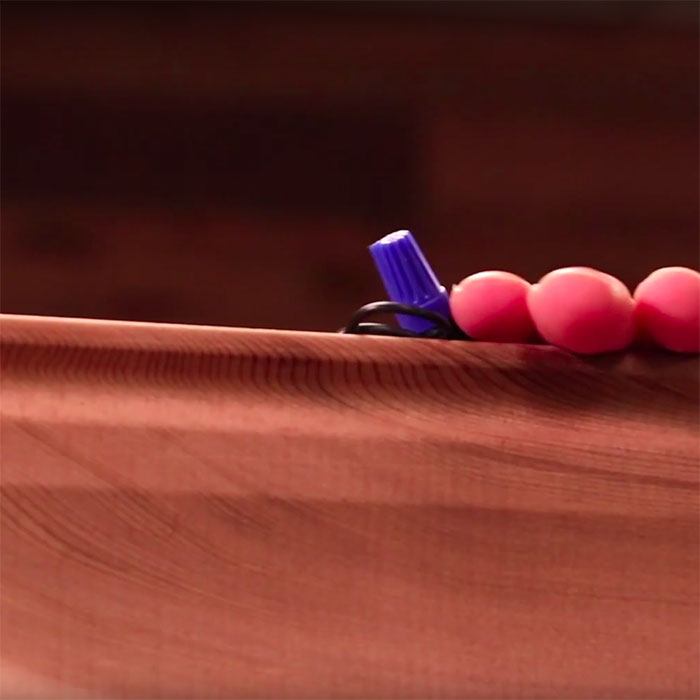
Tuck the wire and wire nuts through the recessed hole and into the top rail channel or post cavity. Place the rail light in position. Don’t secure any lights or wiring until you have tested the entire lighting system.
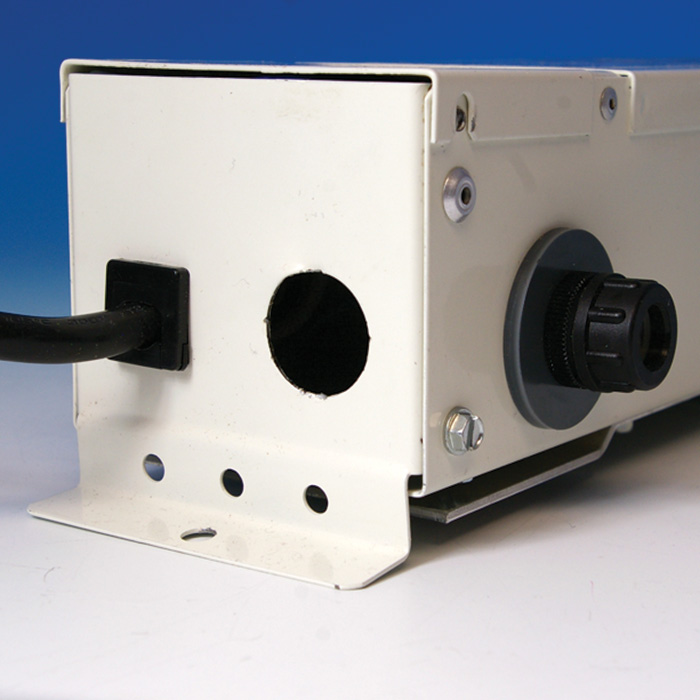
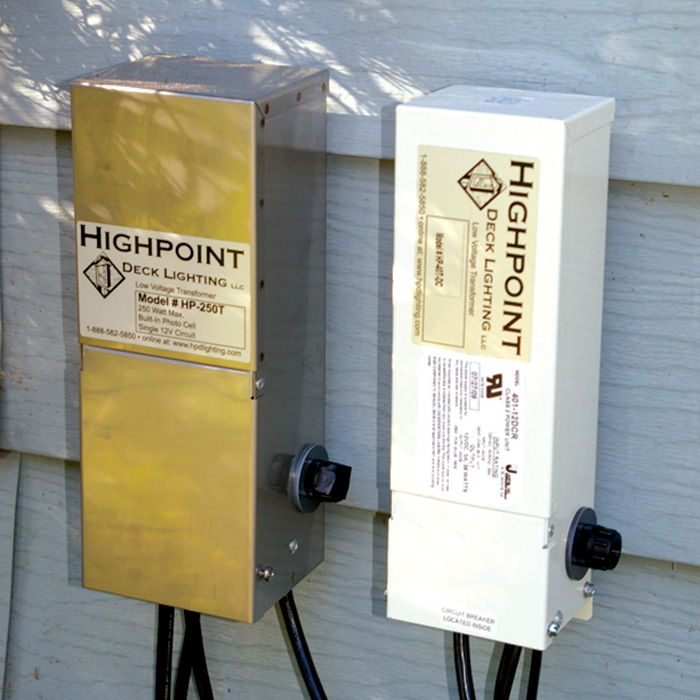
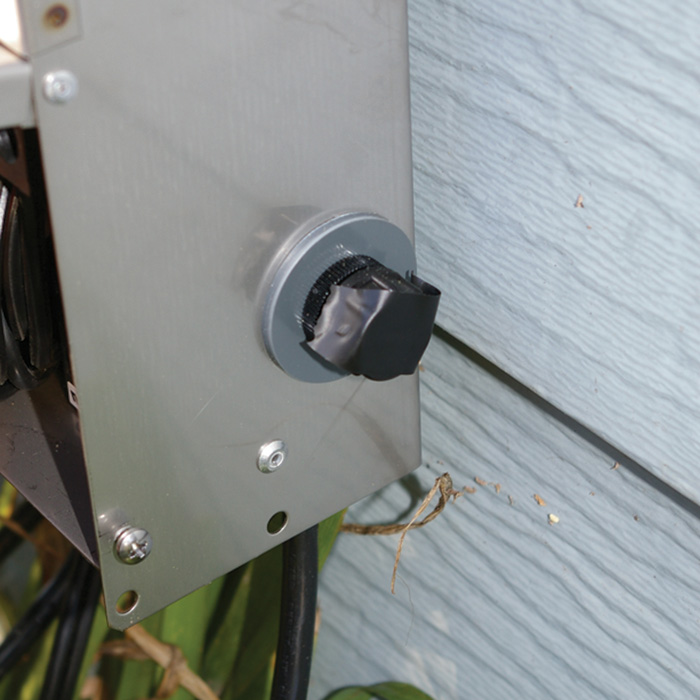
ALWAYS READ AND FOLLOW THE INSTRUCTIONS THAT COME PACKAGED WITH YOUR TRANSFORMER BEFORE INSTALLATION. If the transformer has an accompanying photo-eye, make sure it’s exposed to direct or indirect sunlight.
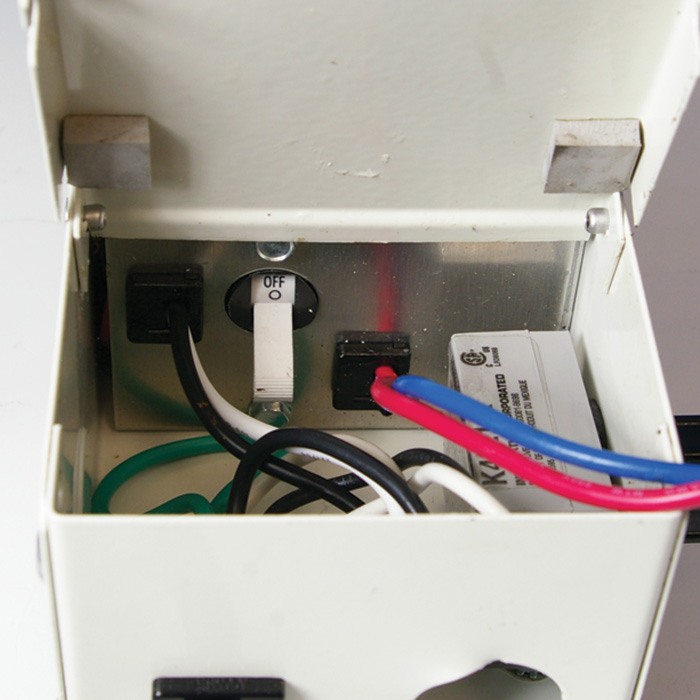
If the transformer has an on/off switch, verify the switch is in the "OFF" position before plugging the transformer into a timer or directly into a GFCI outlet. After connection to an outlet, turn the transformer switch to the "ON" position.
Tip – If the transformer has a photo eye built into the transformer, place a piece of tape over the photo eye for testing a low voltage system during daylight hours. It may take 2-5 minutes for the photo eye to respond after covering.
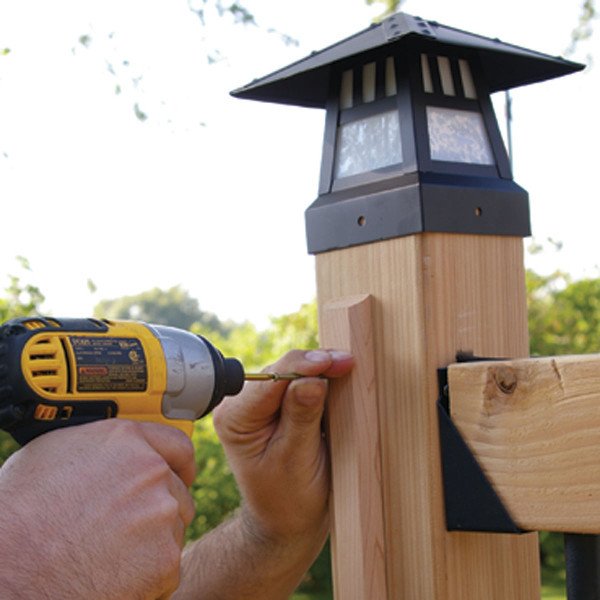
Finish the wire installation. Having verified that the light system works, unplug the power on the transformer. Attach the rail light fixture with the installation screws provided, taking care not to hit any wires with screws.
Are you sure you would like to remove this item from the shopping cart?
This item is a part of the approved quote. Removing it will remove all quote items from the cart.