
Making a Deck Lighting Plan
Plug & Play vs Standard Wiring
For decades outdoor deck lighting has been a very hands-on and intensive chore, one that occasionally called for an electrician. With low voltage lighting and solar lighting options, learning how to install deck lighting in your outdoor space has never been simpler. Today, there are two main methods for wiring light fixtures:
- Hard-wiring all lighting fixtures onto a main line of wire.
- Using a Plug and Play wiring system.
Which method you have to employ on your deck will largely depend upon the lights and manufacturers you have chosen. All AC light fixtures will require hard-wiring, while DC light fixtures are available for both hard-wiring and Plug and Play wiring setups depending on the manufacturer.
Hard-wiring
Hard-wiring lights requires running a main supply cable of low-voltage wire around the perimeter of your deck to which you will be connecting each light and continuing on your run. To connect each light to the main line you will be needing 2 silicone-filled wire nuts or clip-on connectors per fixture. Though it does require more effort during the install, hard-wiring your lights can keep costs down by eliminating the cost of system-specific extension cables and splitters.
Plug and Play
Plug and Play wiring is one of the most innovative lighting solutions in the last several years. Manufacturers such as Dekor and LMT Mercer have created wiring systems that are as simple as plugging your cell phone in to charge. No extra cable or wire nuts needed, as this user-friendly setup allows you to connect cables directly into hubs and splitters.
Deck Lighting Wiring Layout
If you’re going to be hard-wiring your lighting, then as you inspect your lighting plan also decide what wiring layout works best for you. If you are installing AC lights, then looping your wires back to the transformer is a good choice as the current is constantly changing.
Voltage Drop: The decrease in electrical current as electricity has to travel through a wire. Any span of wire over 200 feet is susceptible to voltage drop so you may want to group lights into zones or split the load in some way.
Here are some sample layouts to take a look at:
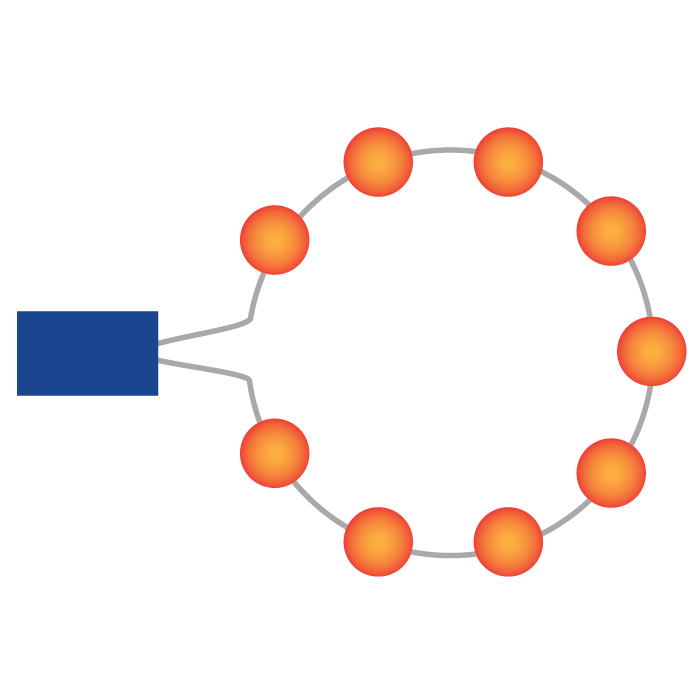
Loop Installation
Light fixtures are arranged in a looped circuit, reducing the effects of voltage drop. DecksDirect recommends this installation type.
For a loop installation, you will run wire from your transformer to the first light, from the first light to the second and so on. Finally, you will connect the end of the wire to the transformer. This means both the beginning and end of the wire run will be connected to the transformer.
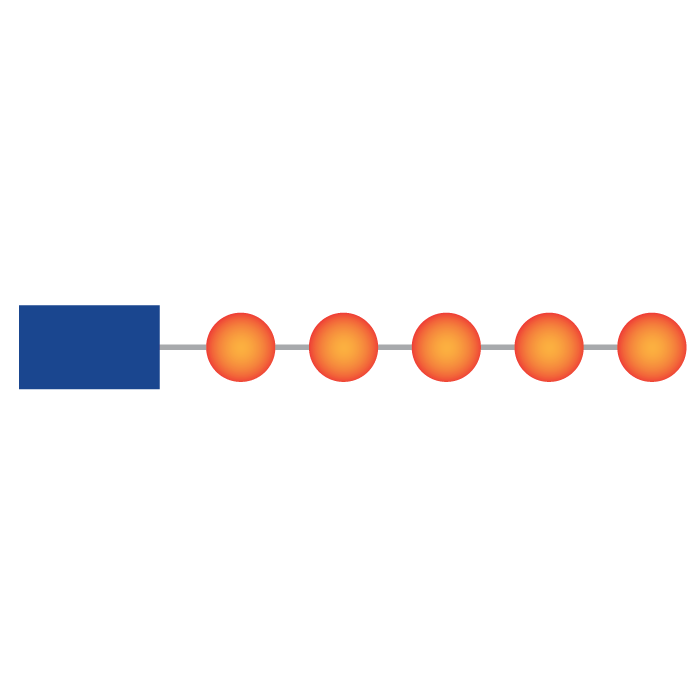
Straight Installation
Also called a line installation, the wiring in this layout starts at the end of your lighting and follows the direct light fixture sequence, all the way to the transformer.
This configuration works great with short wire runs. Because of voltage drop, this configuration is not recommended for large wire or for large fixture quantities. If your last light is dim, you are probably experiencing voltage drop.
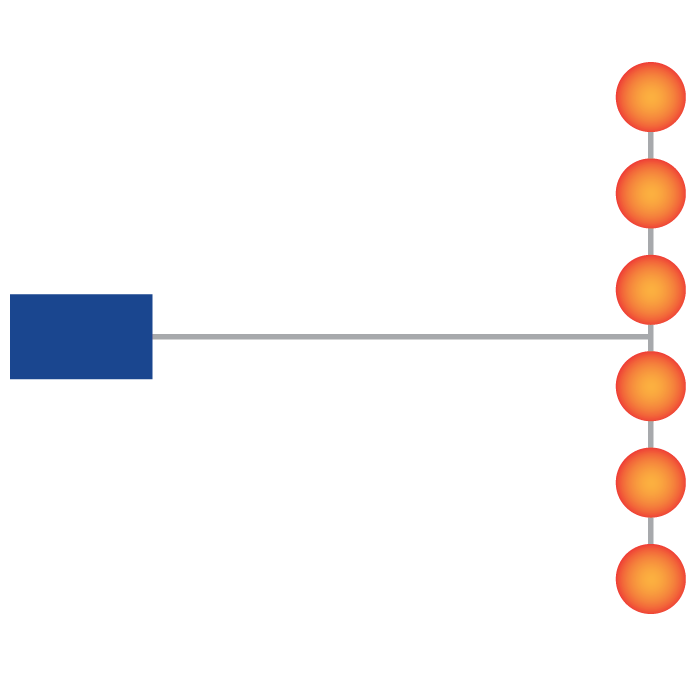
"T" Installation
In this layout, the transformer is centrally located among the lights. This creates a more equal distribution of power but also requires a heavier gauge of wire (8 or 10 gauge) running from the transformer.
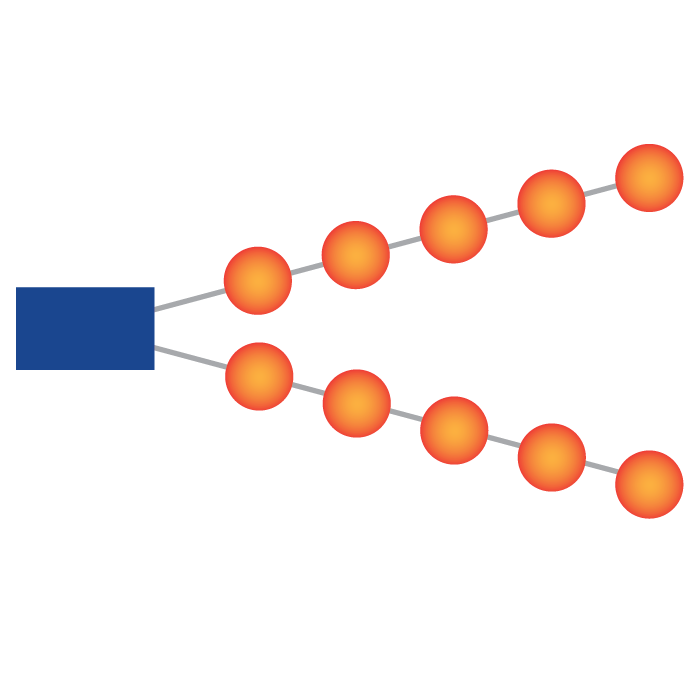
Split Load Installation
This wiring layout is recommended when light fixtures run in two or more directions from the transformer. For this layout, locating the transformer in the center of the run reduces the effects of voltage drop.
How to Hide Low-Voltage Wire
Hiding wire on composite, wood and metal decks
First, start by outlining your deck and tracing in approximately where your posts and rails will be mounted. Though the drawing doesn’t have to be flawless, it is important to have accurate measurements of both your deck and railing to correctly determine the wire lengths you’ll need. Sketch in any significant structures such as columns or fountains that you also may want to highlight.
Mark a symbol in the area that you will be installing your transformer, generally close to the nearest electrical outlet. This allows the transformer to be tucked underneath your deck or out of sight while giving you a span to begin your circuits.
Wire Gauge
Wiring gauge tells you exactly how much current the wire can carry. It’s an inverse relationship: higher currents run on thicker cables, which is indicated by a lower number gauge. The wire should be purchased according to the type of light you have selected, the location of the lights and the wire layout. (See chart below for a guide.)
Staying consistent in matching wire types is important as you continue through the wiring process. Most wires will have a “smooth” black wire combined with another wire that has white lettering and/or is ribbed – matching polarity is especially critical for LED lights.
For any further questions, or to verify your correct wire gauge, consult with a local electrician.
Wire Gauge Guide for 12-volt Deck Lighting
| If you’re using this wiring layout |
With this much wire | And this is your total wattage | With this type of lighting | You need this gauge of wire |
|---|---|---|---|---|
| Straight, "T", or Split Load | 200 feet | 150 watts | Incandescent | 12 gauge (12/2) exterior grade wire |
| Loop | 300 feet | 300 watts | Incandescent | 12 gauge (12/2) exterior grade wire |
| Straight, "T", or Split Load | 320 feet | 150 watts | Incandescent | 10 gauge (12/2) exterior grade wire |
| Loop | 450 feet | 300 watts | Incandescent | 10 gauge (12/2) exterior grade wire |
| Straight, "T", or Split Load | 500 feet | 150 watts | Incandescent | 10 gauge (12/2) exterior grade wire |
| Loop | 750 feet | 300 watts | Incandescent | 10 gauge (12/2) exterior grade wire |
| Straight, "T", or Split Load | 150 feet | 40 watts | LED | 18 gauge (18/2) exterior grade wire |
| Loop | 250 feet | 60 watts | LED | 18 gauge (18/2) exterior grade wire |
| Straight, "T", or Split Load | 250 feet | 40 watts | LED | 14 gauge (14/2) exterior grade wire |
| Loop | 400 feet | 60 watts | LED | 14 gauge (14/2) exterior grade wire |
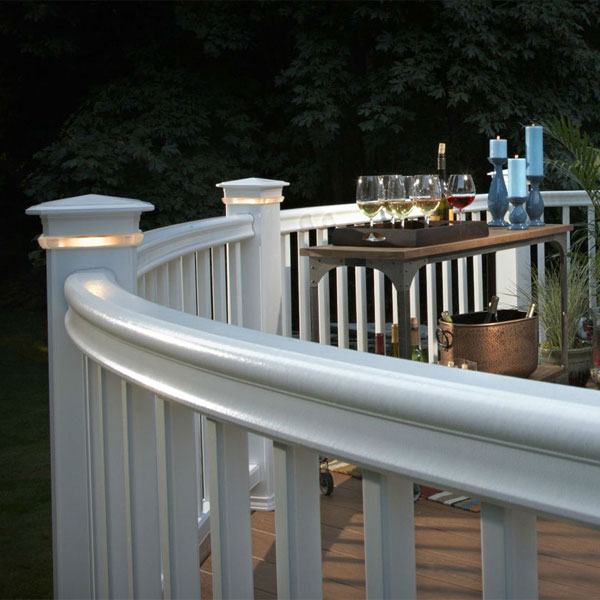
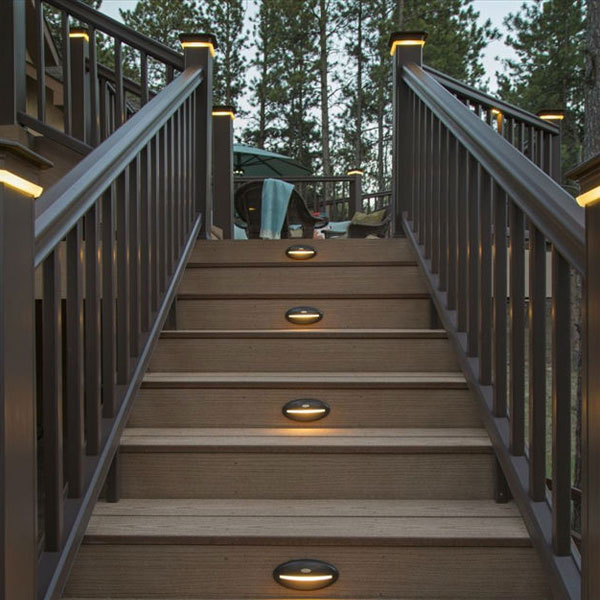
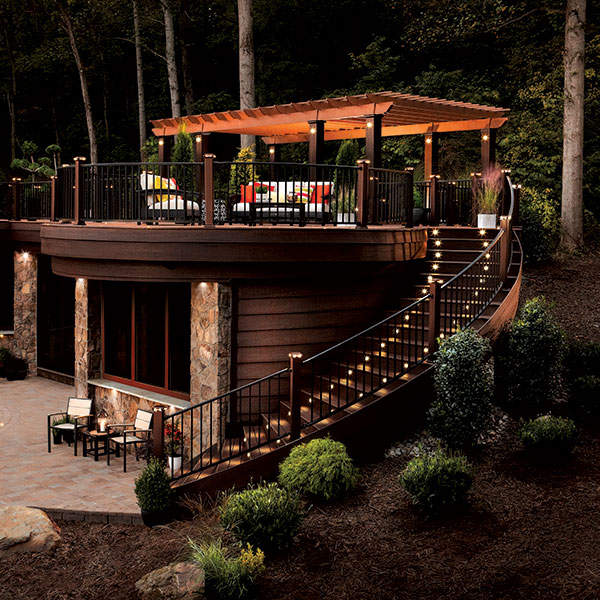
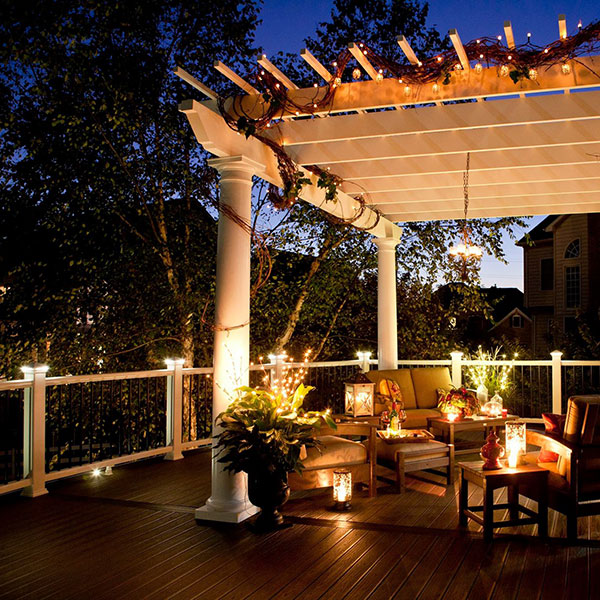
Deck Lighting Inspiration Gallery