Everything You Need For A Complete AFCO Cable Deck Railing
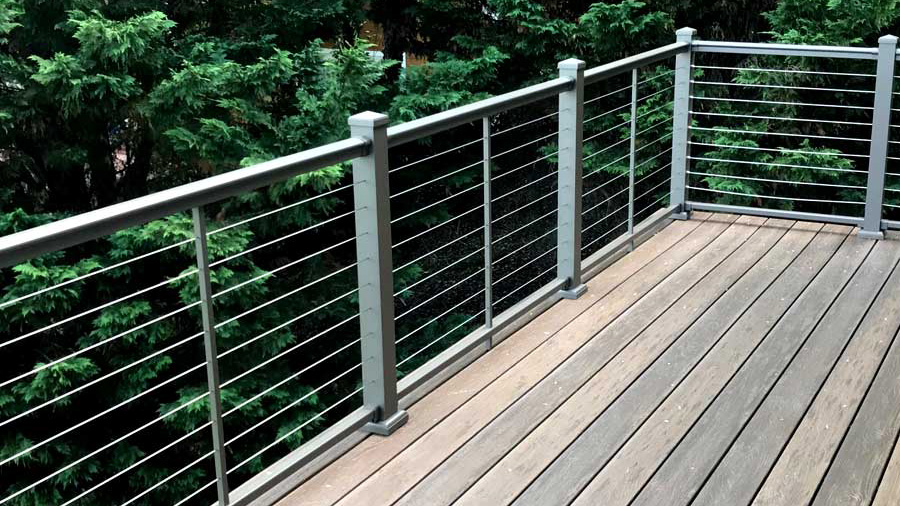
If you have a more traditional home, it can be hard to pair it with the modern look of cable railing. That's where AFCO comes in, creating quality-crafted cable deck railing with a distinctly traditional undertone thanks to its classic top rail shapes. Simply put, AFCO makes cable railing accessible for homes of any architectural style.
If you want to plan an AFCO railing upgrade for your deck, look no further than our guide to simplifying the system and creating a complete shopping list with every part and piece you'll need. For even more personalized planning help, give us a call at 1-888-824-5316 and our experienced team will answer any question you've got.
AFCO Cable Shopping Checklist
Everything you need for standard level railings, stair railings, and traditional 90-degree corners.
- Step 1: Posts & Post Trim (learn more)
- (max spacing between posts: 6 feet)
- Post Kit
- Mounting screws or Post Mount Plate with hex bolts, washers and nuts
- Step 2: Rail Kits (learn more)
- Traditional Pro Shape: Level Rail Kits and Stair Rail Kits
- Modern Flat Top Shape: Level Rail Kits and Stair Rail Kits
- Step 3: Cable Infill (learn more)
- Step 4: Specialized Installation Tools (learn more)
- Touch-Up Spray Paint (recommended)
- Cable Release Tool (recommended)
- Installation Template (recommended)
More Planning Help
Some unique deck features might require additional parts. Follow the links for a supplemental checklist of items to add for your unique feature.
- What Do I Need For Angled Railing Connections?
- What Do I Need For A Deck Board Drink Rail?
- How To Cut AFCO Railing
- How To Measure For Your Railing
- Optional Upgrades:
- Free Planning Help
Planning Your Deck Project
The first step in planning out your deck railing is to measure your deck space. It's helpful to draw out your deck's layout, measuring and labeling the lengths of each outside edge.
- Draw the layout of your deck
- Measure the lengths of each edge and label them
- Plan where your posts will go
- Fill in between the posts with rail kits and cable infill
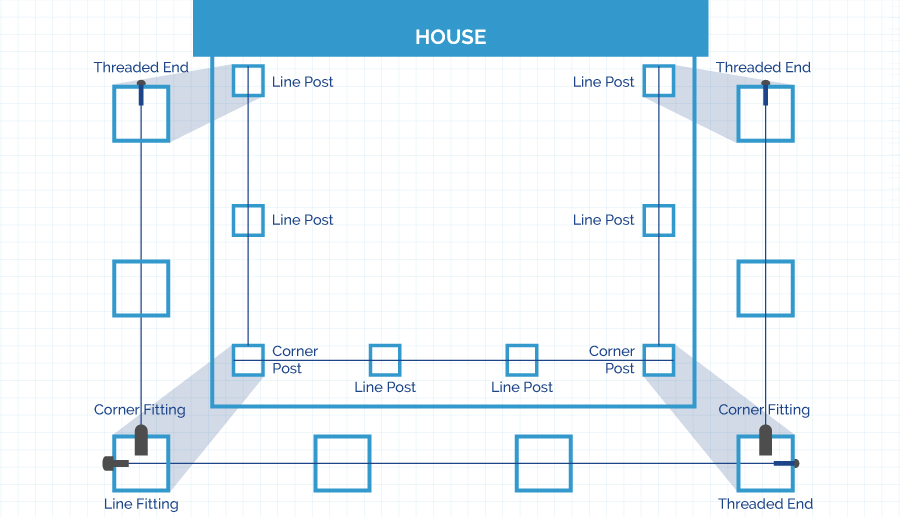
You can start by just marking posts. AFCO offers three different types of posts to accommodate ends, corners, and middle posts within your railing. We'll run through the three different types in the next section, so you can label which post you'll need where, as shown below:
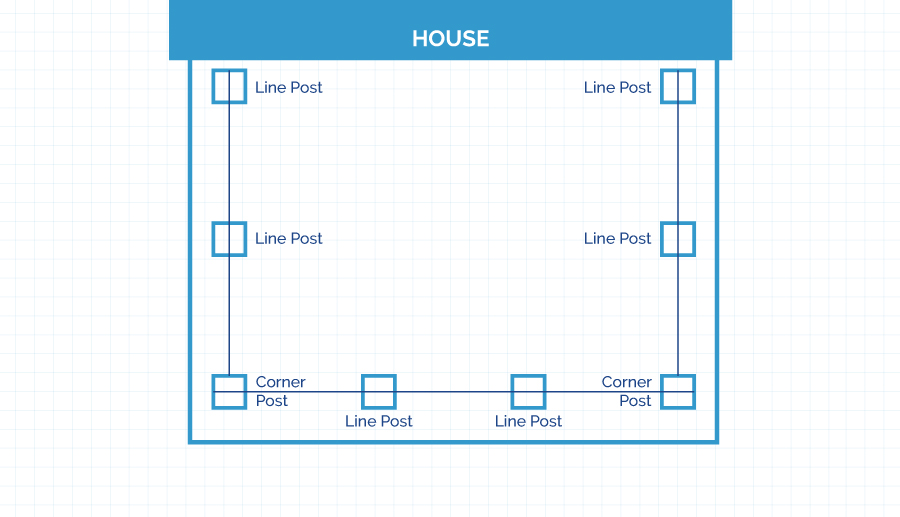
Then count up the various types of posts and the various lengths of rail kits you'll need. Your shopping list will consist of:
- Posts and post trim
- Rail Kits
- Cable infill
- Installation accessories
Plus any other special additions you choose, like built-in lighting, gates, or decorative additions.
As always, we staff a team of experienced deck project planners to help you plan for all of your deck's unique features. Give us a call at 1-888-824-5316 for totally personalized project planning!
Step 1: Posts & Post Trim
- AFCO Cable Post Kit
- Post mounting hardware: either Structural Screws or a Post Mount Plate with hex bolts, washers and nuts
When it comes to cable railing, posts can make things very complicated, with different post options for all sorts of different spots on your deck. Not so with AFCO, which features just three different types of posts that will cover any and all uses across your deck.
Every post comes in a kit that includes the post itself, a post cap, and a post base cover, sometimes called a post skirt. Choose from AFCO's three color options (textured black, textured bronze, and textured white) when you buy the kit and all three pieces will match perfectly. This simplifies your shopping significantly.
The 3 Types of AFCO Cable Posts
Here are the three different types of posts in the AFCO Cable Railing system:
- Line Posts: for end posts and through-posts
- Corner Posts: for corners
- Blank Posts: for stairs
Line Post: For Ends & Middle Posts
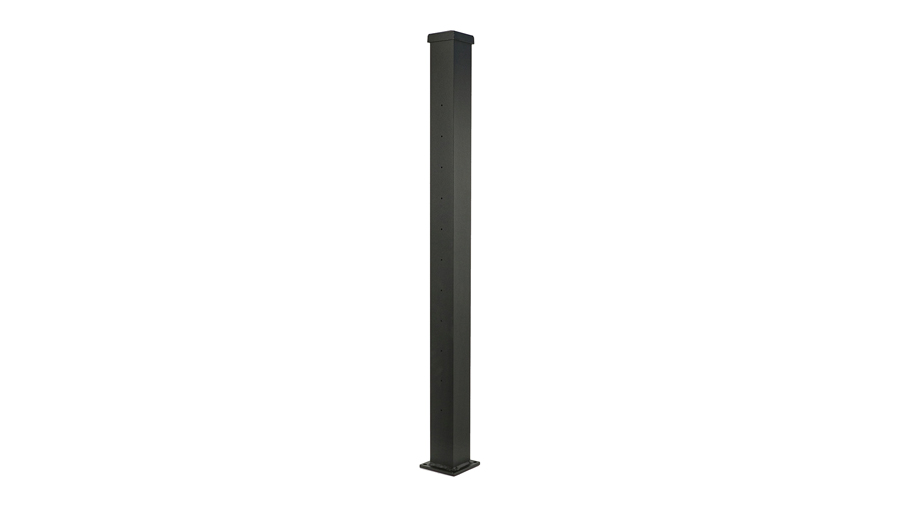
On any level railing section, you can use the basic AFCO Line post in any place where the cable run will either end or continue straight through to the next section. The line post comes with holes pre-drilled on both sides of the post so you can easily feed your cable right through without needing to drill holes.
Corner Post: For Corners
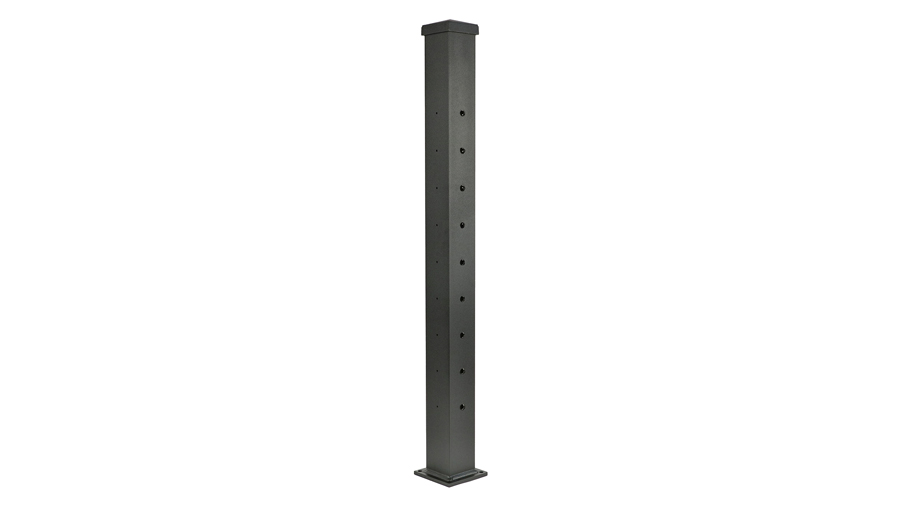
For corners, AFCO offers a specialized corner post with holes pre-drilled on two adjacent sides. It's a simple, elegant solution that gives you a clean look without the bulky double-posting you often need when installing cable railing at a 90-degree corner.
One cable run will extend all the way through the post like a line post, but the other cable run will attach to the outside of the post and end there, as shown in the bottom left and right corners of the diagram below:
Blank Post: For Stairs
Because deck stairs can come in a range of different angles, AFCO offers a blank post with no pre-drilled holes. That allows you to drill your own holes at an angle that matches your deck stairs.
Shop AFCO PostsWhat You Need To Mount Your AFCO Posts
Because each post kit includes a cap and skirt, the only other thing you need to add to your shopping list is a way to attach your posts to your deck frame.
There are a few different ways to do this, but the two most common would be (1) using long structural screws or (2) using through-bolts.
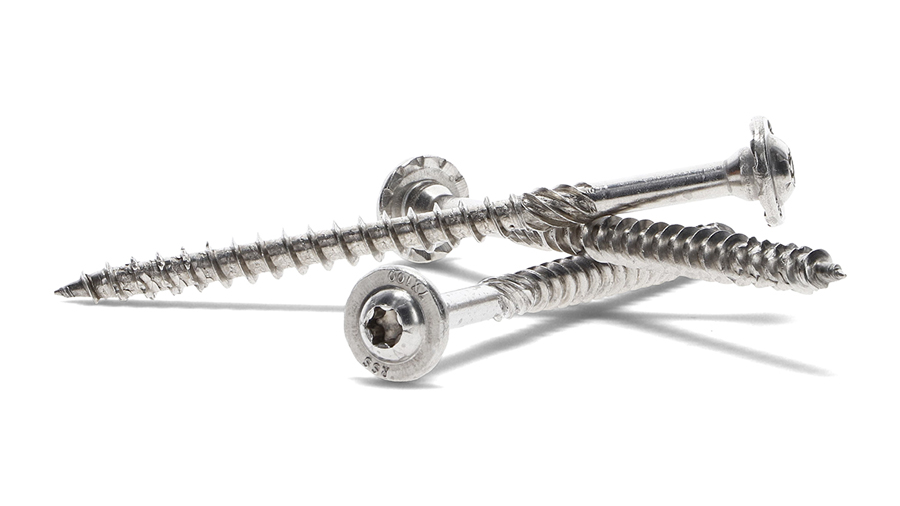
For structural screws, check out these Pheinox RSS Rugged Structural Screws from GRK Fasteners. As long as you have enough blocking underneath your deck, you can run these screws straight down through your deck post, through your deck boards, and into the framing below for a firm, structural hold.
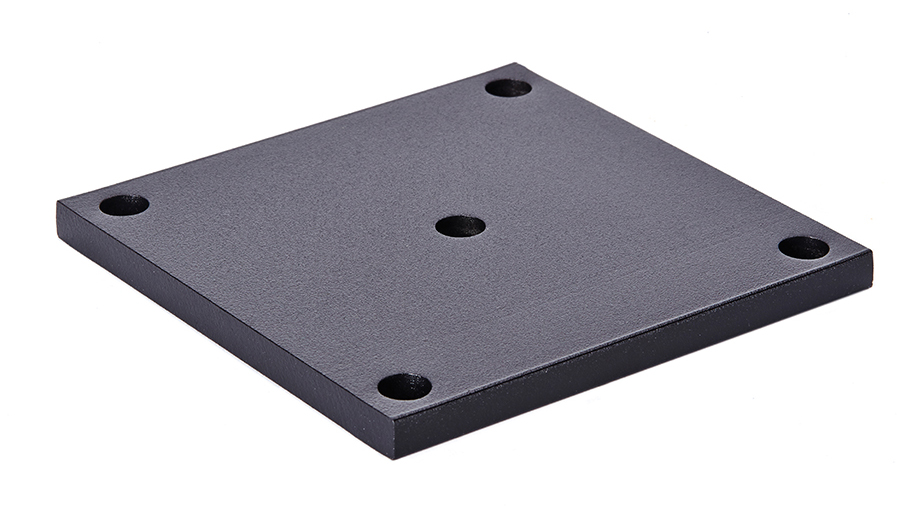
If you want to use through-bolts, AFCO offers a Post Mount Plate that goes underneath your deck. Find a set of hex bolts, washers and nuts at your local hardware store and run the bolts through your posts, through your deck surface and framing, and through the mount plate underneath your deck. Then use the washers and nuts to tighten everything up.
Step 2: Rail Kits
- Rail Kit: Traditional Pro or Modern Flat Top
After planning your posts, you'll need rail kits to fill the gaps between the posts. Once again, AFCO makes it easy with ready-made kits including all the parts and pieces you need.
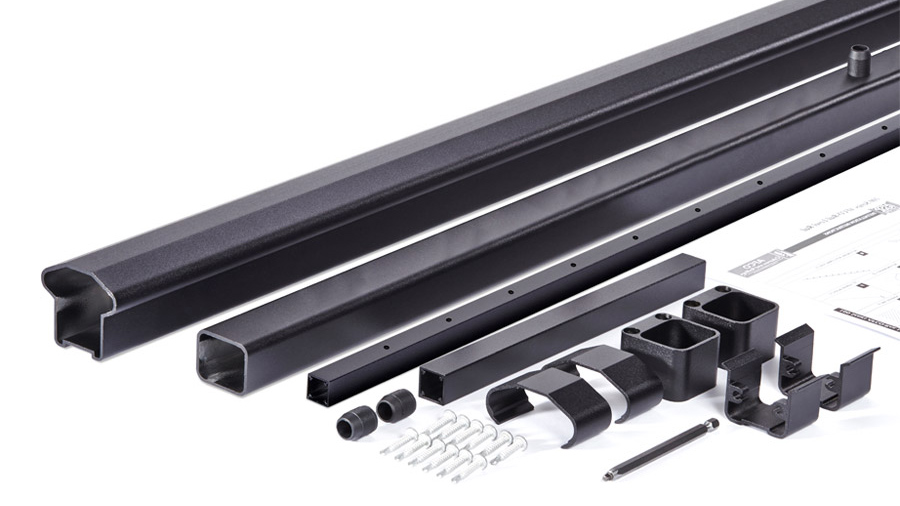
Each kit includes a top rail, bottom rail, an intermediate baluster, mounting brackets, and all the hardware you need to attach your rails to your posts. You can see the full contents of the kit below, using AFCO's classic-looking rounded top rail, which we call the AFCO Pro top rail .
For a slightly different style, AFCO also offers a Flat Top rail. As the name implies, it's a T-shaped rail with a flat top that's a bit more of a clean, modern look.
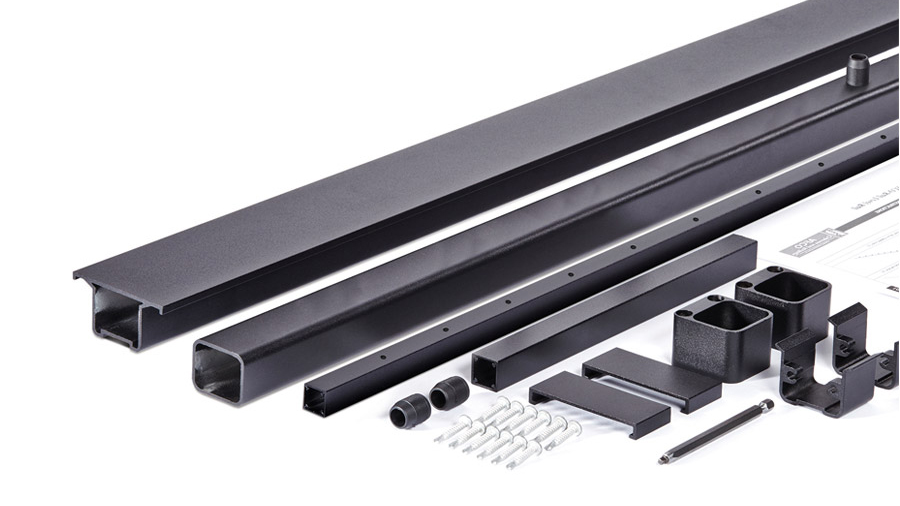
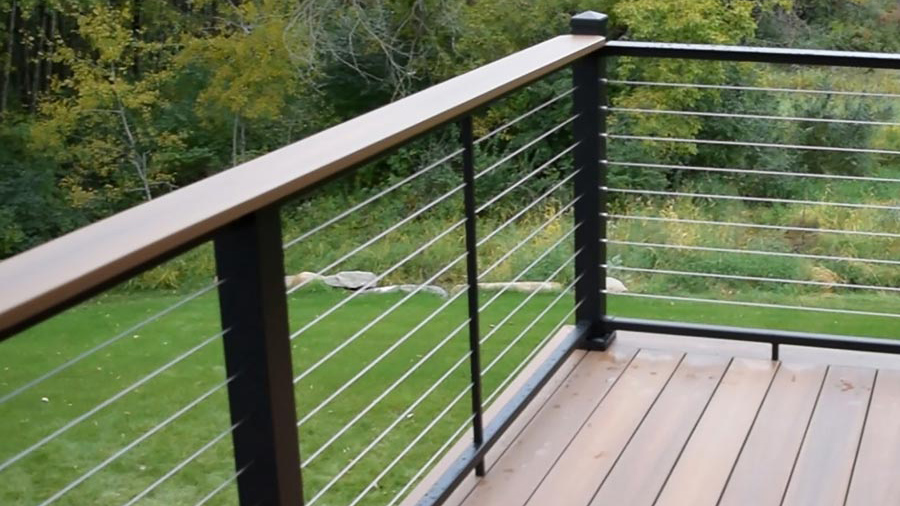
Pro tip: The AFCO Flat Top railing with cable is a favorite of some of our experienced deck project planners at DecksDirect. You can also mount the deck board of your choice on top of the flat top rail for a really gorgeous look that ties your railing and decking together stylistically.
Step 3: Cable
Now you've planned the entire framework of your deck railing - all that's left is the cable to fill it in. (This is why you'll sometimes hear cable referred to as an "infill" - infill is any material from cable to glass to balusters that fill in the spaces created by the posts and rails.)
Once again, AFCO makes it easy by using cable with a pre-installed threaded fitting on one end. (See it on the left side of the image above?)
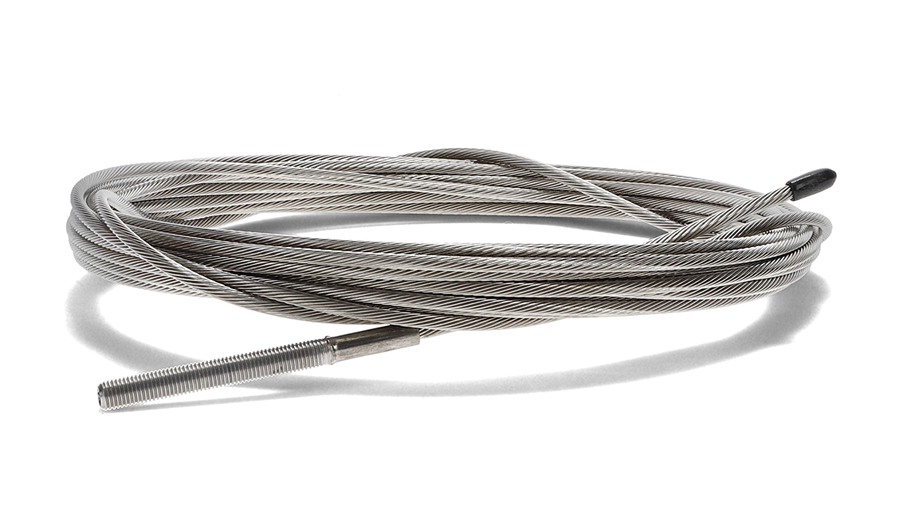
Measure out how long each run of cable will be on your deck diagram. (Remember that each run ends at a corner and a new run starts in the other direction). You can get sections of cable in a range of lengths - just get a length slightly longer than your railing section so you can install it, tension it, and cut off the end.
Buy CableFor a 36-inch railing, you'll have 9 total runs of cable in each section. For a 42-inch railing, you'll have 11 cable runs. For each run, get the cable you need, plus a cable fittings kit, which includes the hardware to connect the cable at both ends of the run.
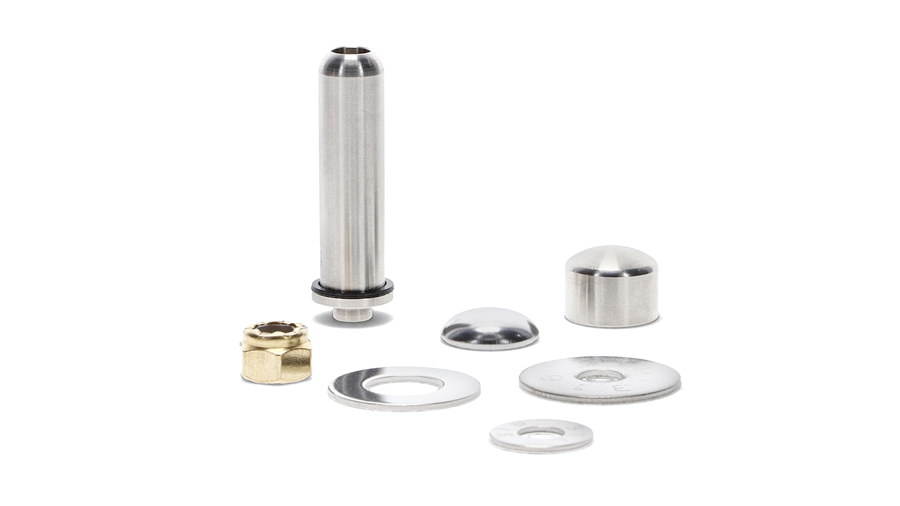
The kits come with end caps to cover up the fitting on either end, which is a nice touch for a clean, finished look with no exposed hardware.
Buy FittingsStep 4: Installation Tools
For the final step of your shopping checklist, there are a handful of installation tools you'll need to complete your project.
Unless your deck is exactly 6 feet long in every direction, you'll need to cut at least some of your rails down in size to fit your space, cutting through the protective powder-coating AFCO puts on the rails.
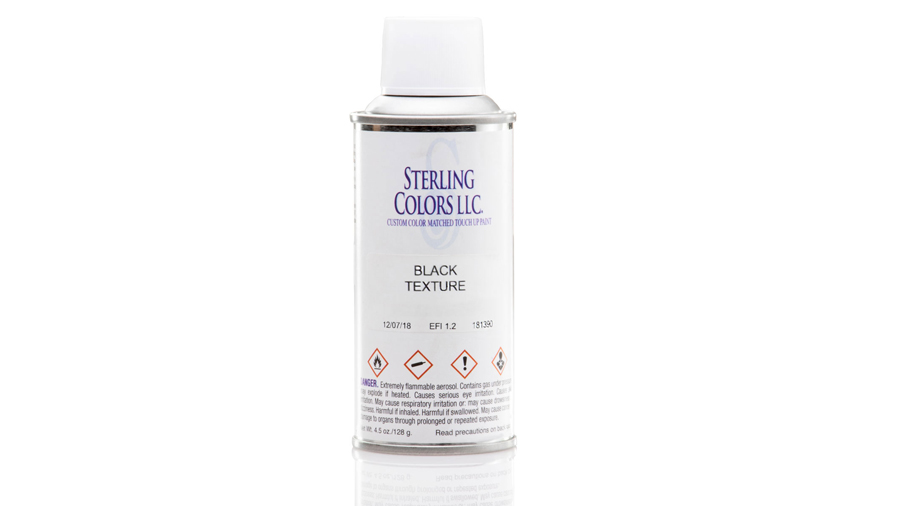
To protect these cut ends, you'll want a can of AFCO Touch-Up paint. This spray paint is specially-designed to match the color and texture of AFCO's various finishes perfectly. It's also worth having to touch up any scuffs or scratches your railing sustains during installation, or over the lifespan of your deck.
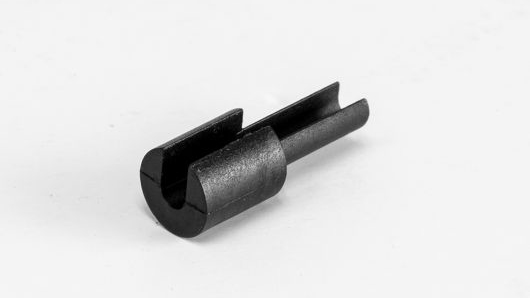
As you're installing your cables, you'll want to make sure you have a Cable Release Tool, just in case any of your cables get connected wrong or tensioned too far. Without a release tool, you'd have to order entirely new cables and fittings for that run. With the release tool, you can release the cable from its fitting and re-install it correctly without needing to wait on a second order of materials.
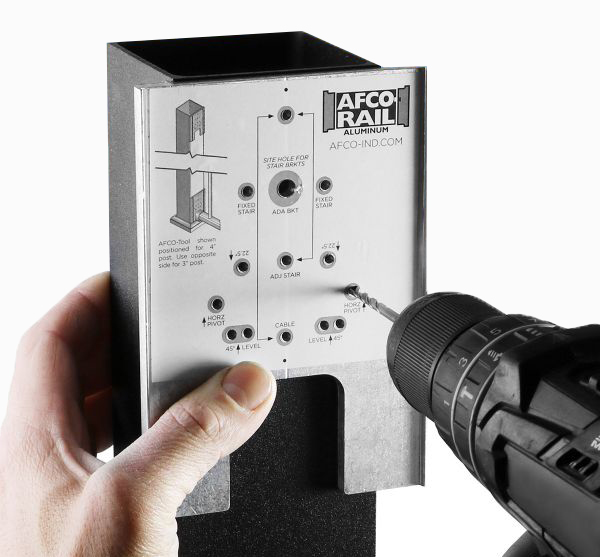
AFCO also offers an installation template that is a huge help in mounting your rails to your posts. Our deck planners highly recommend it, as the template will save you lots of time and measuring while making sure you install perfectly level rails across your system.
Special Applications
We've covered the most common applications of AFCO cable railing. Now, we'll hit a few special cases we see fairly often. If your question isn't listed, please give us a call at 1-888-824-5316 and we'd be happy to help you out!
What Do I Need For Angled Railing Connections?
What you'll need:
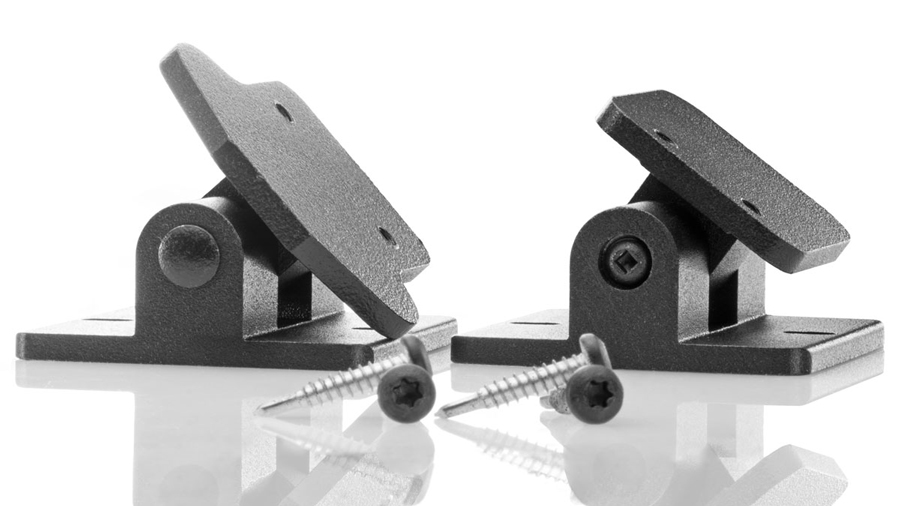
- Swivel/Angle Brackets for Pro Top Rail or Flat Top Rail
Many decks are square or rectangular, with right angles at all corners. But decks come in all shapes and sizes, and AFCO railing can adapt to fit, even with unique angles like this deck:
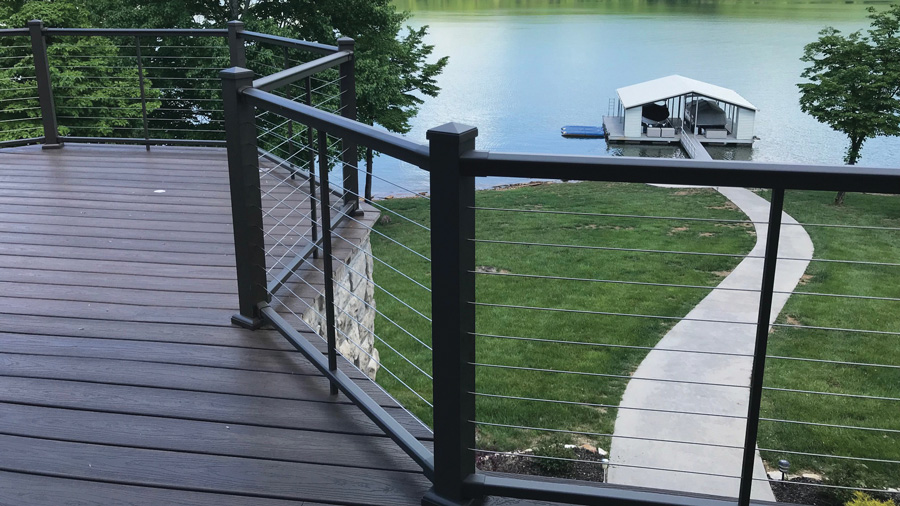
You'll use the same line post and level rail kits we showed above. The only addition to your shopping list is a set of specialized brackets designed to create your custom angle:
What Do I Need For A Deck Board Drink Rail?
What you'll need:
- Flat Top Rail Kits: Level Rail Kit and Stair Rail Kit
- Flat Bottom Deck Board
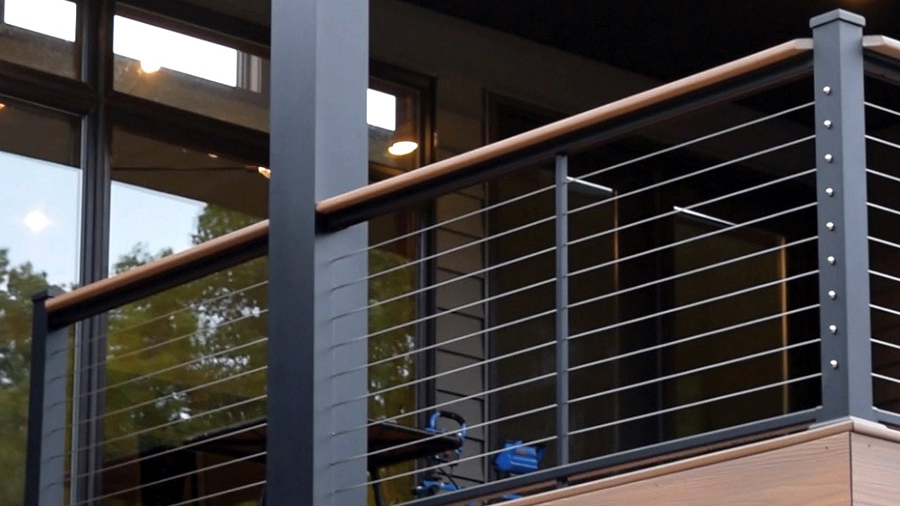
As noted above, AFCO Cable is one of our favorite systems to recommend when a customer wants a drink rail on their deck. AFCO's Flat Top railing looks amazing with a deck board mounted on top.
Just be sure to choose the Flat Top Level Rail Kits (and Flat Top Stair Rail Kits for your stairs).
You can mount the deck board of your choice on top, whether that's composite, PVC or wood decking. (The only boards that won't work are boards with scalloped bottoms).
How To Cut A Railing Section To A Smaller Size
AFCO rails come in 6-foot lengths, but it's easy to cut down a 6-foot length to fit the exact span you need. AFCO recommends using a miter saw with a metal-cutting blade and touching up the cut ends with AFCO Spray Paint to protect it from corrosion.
Each six-foot rail kit includes one intermediate baluster that goes right in the middle of the six-foot railing run. When cutting down a railing, cut an equal distance off of both sides to keep the baluster centered on your railing for the most symmetrical look.
How To Measure For Your Railing
AFCO Cable Rail Kits come in "true" six-foot dimensions. That means the top and bottoms rails will be the full six feet long (in contrast to many rail systems that use "on-center" measurements with slightly shorter rails.
When planning your project, make sure none of your posts will be more than six feet apart. If you have existing deck posts that are more than six feet apart, you'll need to remove and replace some of them to shorten the gaps to six feet.
A good rule of thumb: you can always cut your rails down to a shorter length, but you can't add length to a rail.
Optional Upgrades:
Beyond the basics of your railing, you can also choose to add some extra luxury to your space with a lighting upgrade - or you can make plans to add lighting down the road if you need to break the project into two separate chunks to fit your current budget.
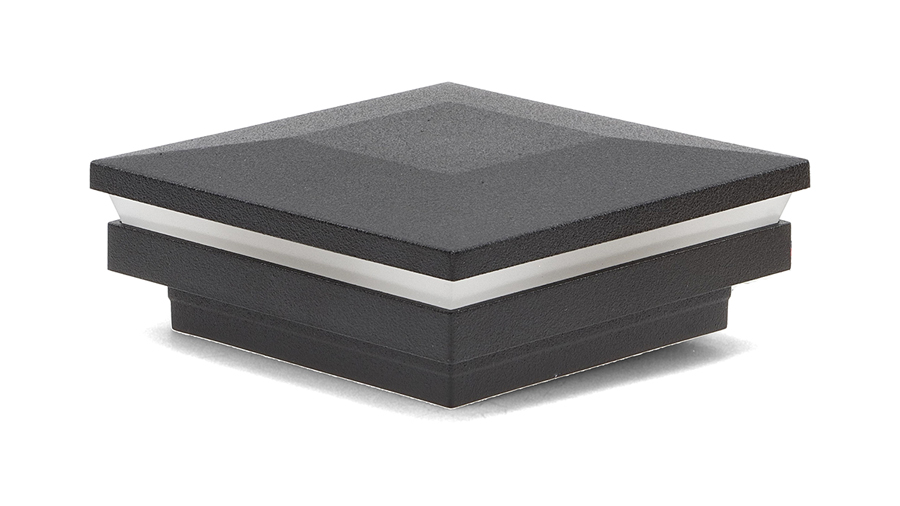
Coordinating Lighted Post Caps
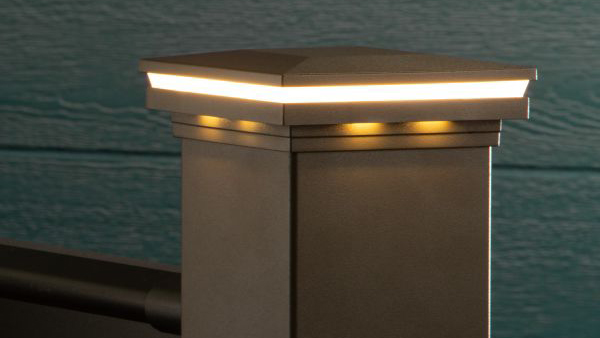
No matter which AFCO color option you choose (textured black, textured bronze, or textured white), we carry a color-coordinating lighted post cap that will look totally stylish during the day and glow with bright, warm light when the sun goes down.
