How to Install Century Scenic Glass Railing
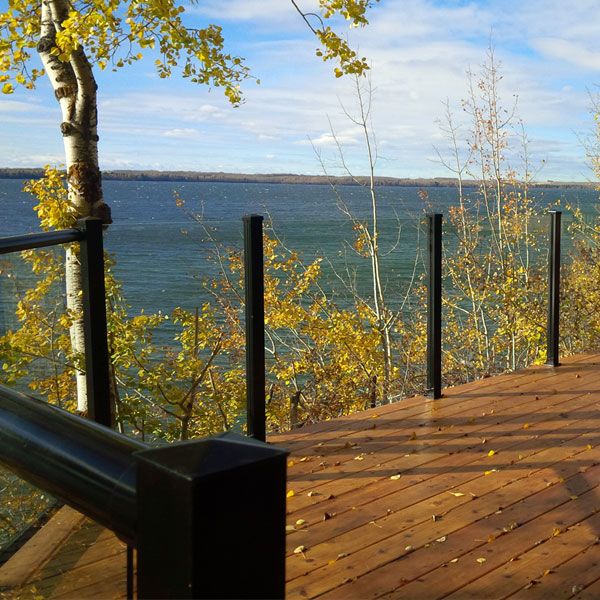
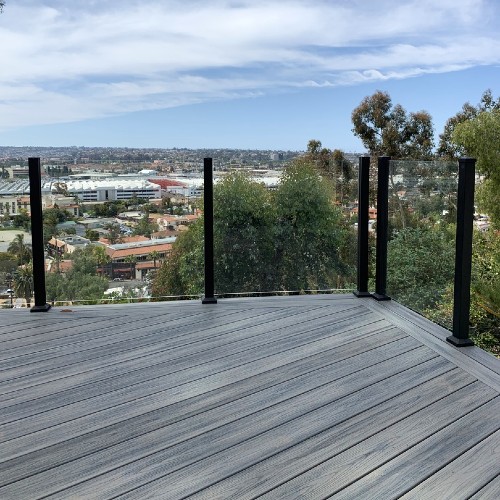
Imagine clear, crisp mornings out on your deck. Sipping your warm coffee or tea as you watch the beauty of nature wake up all around you in your own backyard. With a view-opening Century Scenic Glass Panel Railing system, there won't be any top and bottom rails blocking your sights.
Learn how to add the Scenic Glass Panel Railing system in just 6 simple steps.
How to Install Scenic Glass Railing
With only the Century Scenic Aluminum posts, tempered glass panels, Century Scenic Post Skirts, and structural deck screws required for installation, mounting the Scenic Glass Panel Rail on your home can be a true breeze!
Choose from a deck surface mount post or a fascia post mount to deliver the ideal deck railing design you've always wanted for your outdoor living space.
How to Install Scenic Glass Panel Railing
6 Easy Steps to Install Century Scenic Glass Railing
1. Set Century Scenic Posts
Locate posts in desired locations making sure all posts are plumb and level.
Maintain a maximum distance of 4 feet from the center of the Scenic post to the next center of the Century Scenic post.
2. Find Glass Panel Length
Measure the distance between the two Century Scenic deck posts and add 1-1/4 inches to the total measurement. This will be the length of your glass panel.
For example: If a post to post distance measures 45 inches. 45 inches + 1-1/4 inches = 46 1/4 inches. Order your glass panels at 46 1/4 inches to perfectly fit in place between the Scenic posts.
3. Anchor Posts in Place
Use structural screws to attach the post in place atop the deck surface. Or if planning a fascia install, use a Scenic Fascia Mount Bracket to connect the post the rim joist.
4. Remove the Post Caps
Each Century Scenic metal post will include a color-coordinating pyramid post cap to perfectly finish off your glass deck railing. Unscrew the two fasteners from each of the pyramid caps and lift to remove.
5. Insert the Glass Panel
Lubricate the black post insert and the side glass edges with soapy water for easy installation. Using two people, slide the glass panel down into the black nylon channel while maintaining even pressure on both sides until the tempered glass panel sits on the support blocks at bottom of the post.
Ensure that the glass panel is fully installed into the nylon channel of the Century Scenic posts. If the glass is not seated properly, the pyramid post caps may not fit.
6. Add Finishing Touches
Reinstall the included pyramid post caps and secure them in place with the 2 screws that were removed earlier. Then snap the two-piece Scenic post skirt in place around the bottom of the deck post.
